Understanding the Repair Before You Pick Up a Tool
Not all drywall damage is the same, and choosing the wrong repair method is the most common reason patches remain visible long after the paint dries. As a general rule, damage falls into three categories:
- Nail pops and hairline cracks - the outer paper or gypsum has lifted or split slightly, usually caused by structural settling or fastener movement.
- Small holes (up to about 4 inches) - doorknob dings, plumbing access holes, and accidental punctures fall here.
- Larger holes (4-12 inches) - these require a rigid backing piece so the patch has something firm to bond to.
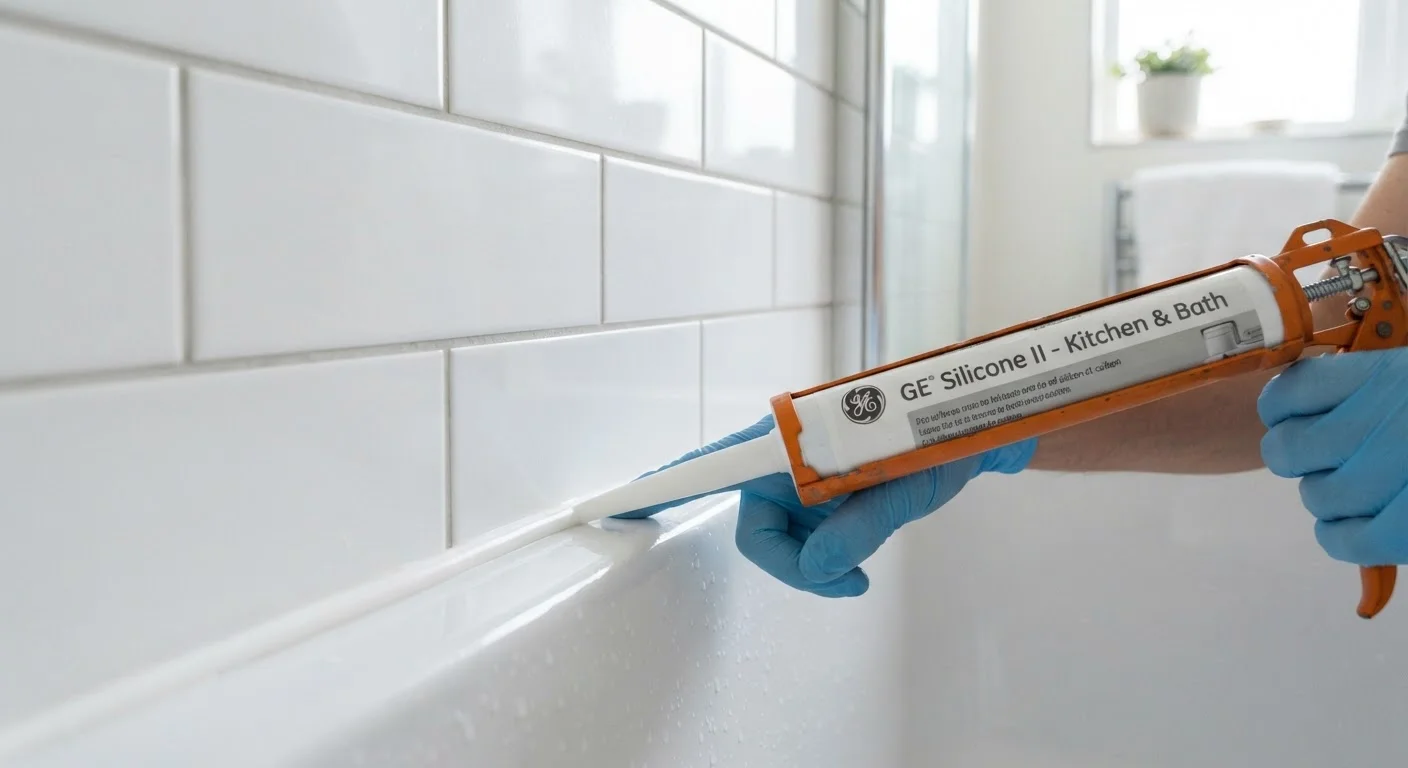
Moisture damage deserves a separate note: if the drywall is soft, discolored from water intrusion, or shows visible mold, repair the source of the leak first and allow the area to dry fully before patching. For tips on preventing moisture from reaching your walls in the first place, see our guide to bathroom caulking.
What you will need
Tools and Materials You Will Need
Having everything at hand before you start prevents the compound from drying while you're mid-task. Gather the items below based on the size of the repair you're tackling.
Putty knife or drywall knife (4-6 inch)
Used to apply and feather joint compound over the patch area.
Pre-mixed all-purpose joint compound
The filler material that bonds to drywall paper and sands smooth once dry.
Self-adhesive mesh patch or tape
Provides reinforcement over holes and cracks so the compound doesn't crack after drying.
120- and 220-grit sandpaper or sanding sponge
Used to knock down dried compound between coats and achieve a smooth final surface.
Drywall scrap piece
Cut to size as a backing board for larger holes that lack structural support.
Drywall primer (PVA primer)
Seals the porous joint compound so the paint coat doesn't flash or look dull over the repair.
Dust mask and safety glasses
Protect you from fine drywall dust during sanding.
Step-by-Step Repair Instructions
Follow the steps below in order. Rushing the drying time between coats is the single biggest mistake homeowners make - patience here is what separates a professional-looking result from a visible bump under the paint.
Prepare and Clean the Damaged Area
Use a putty knife to scrape away any loose paper, crumbled gypsum, or old paint flaps around the hole or crack. The edges should be firm and stable - anything that wobbles or peels will prevent the patch from adhering properly. Wipe away dust with a dry cloth.
Apply Mesh Tape or Install Backing (for larger holes)
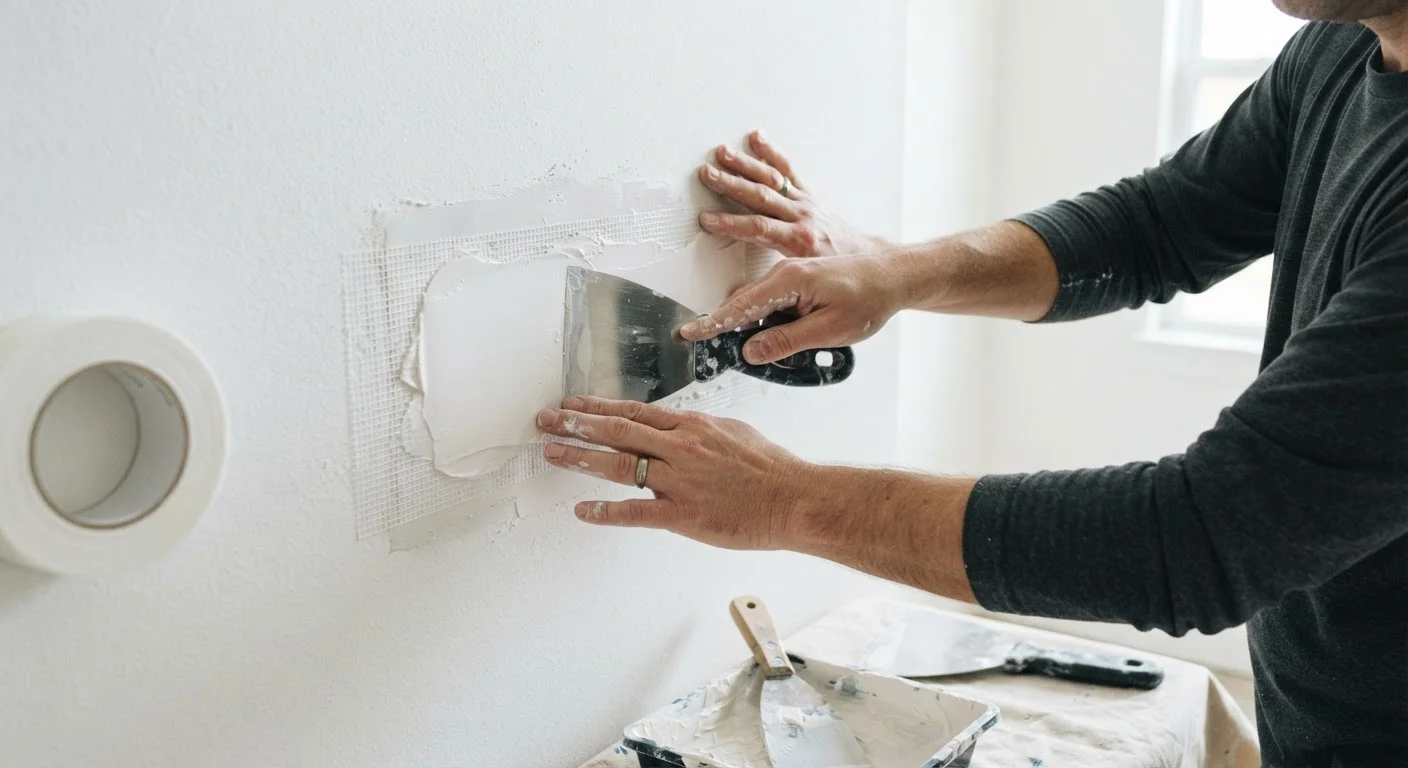
For holes up to about 4 inches, center a self-adhesive mesh patch directly over the opening and press it flat. For holes larger than 4 inches, cut a piece of drywall scrap a few inches wider than the hole, slip it behind the opening, and secure it to the surrounding drywall with drywall screws. Then cut a drywall patch to fit snugly in the hole, screw it to the backing piece, and cover all seams with mesh tape.
Apply the First Coat of Joint Compound
Using your putty knife, spread a thin, even layer of joint compound over the mesh or patch, pressing it firmly into the tape weave. Work the knife at a shallow angle to avoid air pockets. Extend this first coat about 2-3 inches beyond the edges of the patch on all sides. Let it dry fully - typically 4-8 hours depending on humidity and product thickness.
Sand, Then Apply a Second Coat
Once the first coat is fully dry and has turned uniformly white (not patchy gray), lightly sand with 120-grit sandpaper to knock down any ridges or tool marks. Wipe away dust. Apply a second, slightly wider coat of compound, feathering the outer edges so the transition to the surrounding wall is gradual. Allow to dry completely.
Final Sand and Inspect
After the second coat dries, sand with 220-grit sandpaper using light circular strokes. Hold a lamp or flashlight at a low angle to the wall - raking light reveals ridges and low spots that flat overhead lighting hides. Apply a thin skim coat to any remaining imperfections, let dry, and sand again.
Prime and Paint
Apply one coat of drywall primer to the repaired area and allow it to dry per the manufacturer's instructions. Once primed, the patch should look uniform in sheen with the surrounding wall. Paint with your matching wall color - two coats are usually needed to achieve a full, even finish that blends with older painted surfaces.
Finishing and Troubleshooting Common Problems
Why Primer Matters
Joint compound is highly porous. Painting directly over an unprimed patch pulls moisture unevenly out of the new paint, leaving a dull, flat circle that's obvious in raking light - a phenomenon called flashing. A single coat of drywall primer (also labeled as PVA primer) seals the compound and ensures the topcoat sheen matches the rest of the wall.
Common Problems and Fixes
- Crack appears after drying
- The compound was applied too thick in a single coat. Sand lightly and apply a thin skim coat over the affected area.
- Patch is visible as a slight bump
- The edges weren't feathered out far enough. Lightly sand the edges and blend with another thin coat extended several inches beyond the previous boundary.
- Texture doesn't match
- Most walls have some texture - orange peel, knockdown, or light skip-trowel. Practice the texture technique on a scrap board before applying it to the wall. Many hardware stores carry aerosol texture sprays that approximate common finishes.