Why Tile Installation Is More Involved Than It Looks
Walk past a tiled bathroom or kitchen backsplash and it looks like a simple grid of squares stuck to a wall. In practice, a durable tile installation involves four distinct phases - surface preparation, layout planning, setting, and finishing - each with its own materials, tools, and failure points.
The good news: none of these phases requires a trade license or years of experience. The honest caveat: each one penalizes impatience. If you're new to home improvement work, our foundation guide for new homeowners is a useful starting point before you buy a single tile.
Understanding what's actually involved - the tools, the timeline, the physical demands - is the best way to decide whether to DIY or hire out. This article gives you that picture honestly.
Phase 1: Surface Preparation
This is the phase most beginners skip or rush, and it's the single biggest predictor of how long the tile lasts. Tile is rigid; anything the substrate does - flexing, settling, moisture movement - transfers directly to the grout lines and eventually the tile itself.
For floor tile, the subfloor must be structurally sound, level to within about 3/16 of an inch over a 10-foot span, and free of soft spots. Walls need to be flat, clean, and covered in an appropriate backer material. In wet areas like showers, cement backer board or a waterproofing membrane is generally required - drywall, even moisture-resistant drywall, is not an adequate substrate for tile in a shower enclosure.
Fixing subfloor flex, filling low spots with floor-leveling compound, and installing backer board all add time and cost that don't show up in idealized project estimates. Budget for them anyway.
Wet Areas Require Waterproofing
Standard cement backer board alone is not waterproof - it resists moisture damage better than drywall, but water can still penetrate grout lines and reach the substrate. Showers and tub surrounds generally require a dedicated waterproofing membrane applied before tile. Check the tile and backer board manufacturer's specifications for your specific application, and verify any local building code requirements that may apply.
Phase 2: Layout and Dry-Fitting
Before any adhesive is mixed, professional tilers snap chalk lines and dry-lay (place tiles without adhesive) across the entire field to check the layout. The goal is to avoid ending up with slivers of cut tile at the most visible edges and to ensure the pattern stays square across the room.
This step reveals problems that are essentially invisible on paper: a room that isn't square, a doorway that bisects an awkward grout line, or a design that requires dozens of small cuts. Good layout planning before you ever open a bag of thinset - the cement-based adhesive used to bond tile - prevents costly mid-project corrections. For a plain-language explanation of thinset and the other materials you'll encounter, see our tiler's glossary for beginners.
Pros and Cons of DIY Tile Installation
With a clear picture of the work involved, here's a balanced look at what you gain and give up by doing the job yourself.
Significant savings on labor costs
Professional tile installation labor typically runs $5-$15 per square foot depending on complexity and region. For a 100-square-foot bathroom floor, doing the work yourself can represent hundreds of dollars in savings.
Full control over pace and quality
A DIYer can take the time to dry-fit every tile and double-check every level reading - luxuries a professional on a tight schedule may not have. Slower work often means more careful work.
Transferable skill for future projects
The fundamentals learned on a first tile job - surface prep, layout, working with thinset and grout - apply directly to backsplashes, bathroom walls, and outdoor patios.
Accessible entry point with proper preparation
Unlike electrical or structural work, tile installation does not require a permit in most jurisdictions and carries no serious safety risk when done incorrectly - the tile may crack or loosen, but no one gets hurt.
Physically demanding over multiple days
Kneeling, crouching, and applying firm pressure for hours at a time is harder on the body than most beginners anticipate. A 60-square-foot bathroom floor realistically takes a first-timer two full days.
Mistakes are expensive to correct
Thinset that has cured with tiles out of level, or grout that has dried with significant haze, requires chipping out - a laborious process that risks damaging surrounding tiles and the substrate.
Tool costs add up quickly
A wet saw rental, grout float, notched trowels, level, and other supplies can add $75-$150 or more to a project, narrowing the savings margin for small jobs.
Substrate problems can exceed DIY scope
A subfloor with significant flex or rot, or a shower that requires a custom waterproofing system, may be beyond what a first-timer should attempt alone - and getting it wrong can lead to water damage.
Grouting is an underestimated skill
Achieving even grout lines, clean haze removal, and proper curing takes practice. A poor grout job is highly visible and can be difficult to fix without removing and redoing the entire application.
If you're weighing this against other home projects, it helps to think about how tile compares to tasks with different risk profiles - the same thinking that applies to knowing when a project needs a licensed professional.
Phase 3: Setting and Cutting Tile
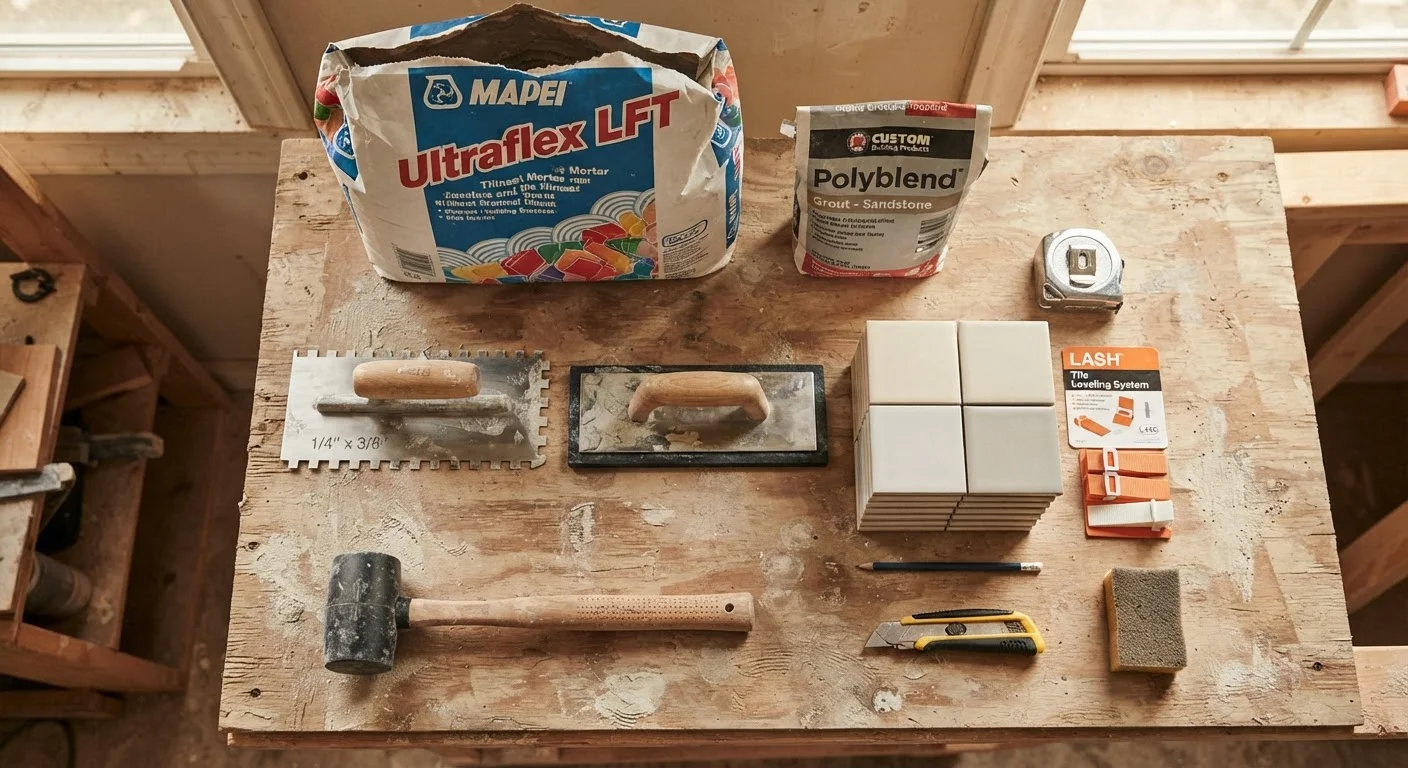
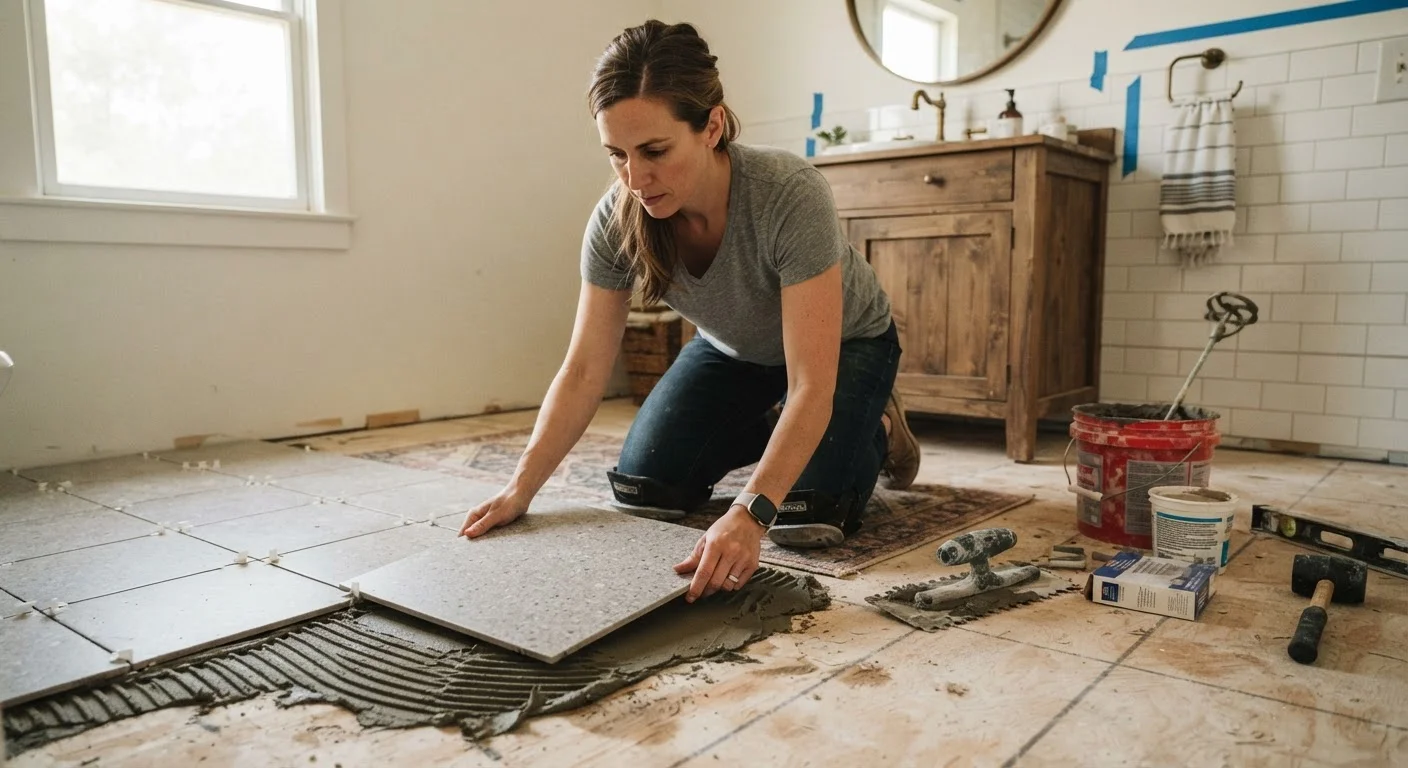
Thinset is spread with a notched trowel, the tile is pressed firmly into place, and tile spacers hold consistent grout-line width. Each tile should be checked with a level and tapped level with neighboring tiles using a rubber mallet. This sounds simple; doing it consistently across 50 or 100 square feet while the thinset has a working window of roughly 30-45 minutes requires steady focus.
Cutting is where beginners often hit a wall - literally. A wet saw (a water-cooled tile saw available at most tool-rental counters) is the right tool for straight cuts. Angle grinders with diamond blades handle curves and notches. Both require eye and ear protection and a basic comfort level with power tools. Factor tool rental into your project budget and timeline.
Careful project planning - scope, sequencing, material estimates - makes this phase much smoother. Our home improvement planning guide walks through those steps in detail.
Phase 4: Grouting and Sealing
After thinset cures (typically 24 hours minimum), tile spacers are removed and grout is worked into the joints with a rubber grout float, then carefully wiped clean before it hardens on the tile face. Timing matters: too soon and you pull grout out of the joints; too late and haze bonds to the tile surface and requires significant effort to remove.
Many tiles and all grout joints in wet areas benefit from sealing - a topical or penetrating product applied after the grout fully cures. Skipping this step in a shower or around a sink is one of the most common reasons DIY tile jobs develop mold or staining within a year or two.
24-48 hrs
Minimum thinset cure time before grouting
Most thinset manufacturers specify at least 24 hours of cure time before grouting; rushing this step is a leading cause of grout cracking.
3/16"
Maximum floor variation over 10 feet
The Tile Council of North America's installation guidelines identify this tolerance as the threshold beyond which tile installations are at risk of cracking or debonding.
The same principle that applies across DIY decisions holds here: some jobs reward a careful first-timer, while others carry disproportionate risk if done wrong. Tile sits solidly in the learnable category - as long as you respect the prep.