Start with a Clear, Written Scope
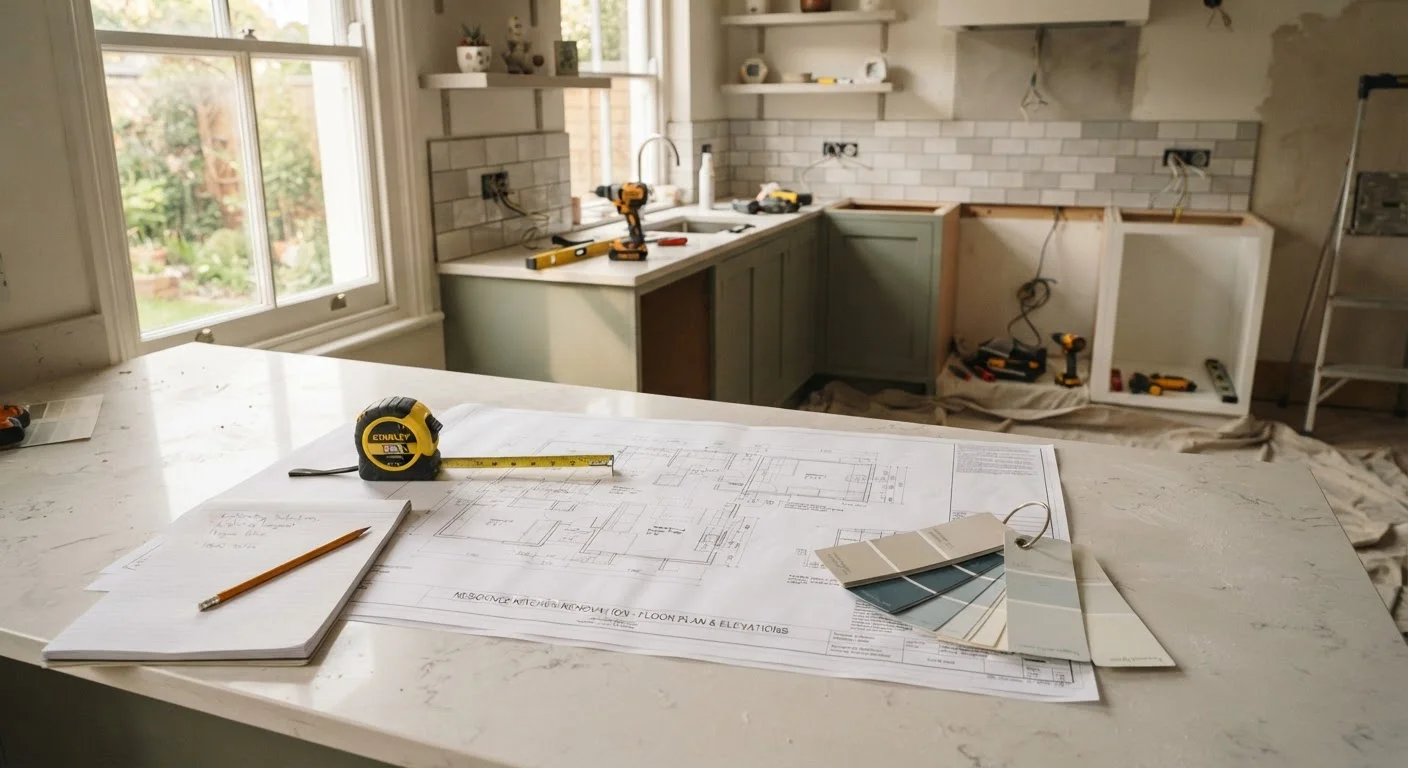
Every successful home improvement project begins not with a hammer, but with a clear idea of what you actually want to accomplish. Vague goals - "update the bathroom" or "fix the backyard" - almost always expand in unexpected directions once work begins. Writing a defined scope statement forces you to think concretely: What exactly will change? Where does the project start and stop? What does "done" look like?
Your scope document doesn't need to be formal. A single page listing the specific work, the rooms or areas involved, and any features you explicitly want to exclude is enough. That last part matters - exclusions prevent scope creep, the pattern where a simple refresh turns into a full gut renovation. If you're newer to home projects, our foundation guide for new homeowners is a useful starting point before diving into planning.
Budget Realistically - Then Add a Buffer
One of the most common planning mistakes is building a budget around best-case material costs and ignoring labor, disposal, and the surprises that hide inside walls. A realistic project budget should account for materials, any contractor or specialist fees, permit fees, tool rental if needed, and waste removal.
~35%
Projects that exceed their initial budget
Industry surveys from home improvement research groups consistently find that roughly one-third of homeowner projects run over their original estimate, most often due to unforeseen conditions and scope changes.
10-15%
Recommended contingency reserve
Building professionals widely recommend reserving 10 to 15 percent of a project's total estimated cost as a contingency buffer for unexpected findings or material price changes.
Once you have an honest estimate, add a contingency reserve - commonly cited as 10 to 15 percent of the total project cost - set aside specifically for unexpected findings. Opening a wall to run a new outlet, for example, sometimes reveals outdated wiring that needs attention before the original work can proceed safely. That contingency isn't pessimism; it's what keeps a project moving when reality diverges from the plan.
Keep all quotes, receipts, and notes in one place - a folder, a simple spreadsheet, or even a notes app works fine. Good records also protect you if a contractor dispute arises.
Permits, Codes, and Licensed Trades
Many homeowners skip the permit step to save time or money. This is one of the most consequential planning mistakes you can make. Permits exist to ensure that work meets local safety codes - and unpermitted work can complicate home sales, void homeowner's insurance claims, or require expensive tear-outs if discovered during an inspection.
Check with your local building or planning department early. A surprising number of projects - including deck additions, window replacements, HVAC changes, and any electrical or plumbing work - typically require permits in most U.S. jurisdictions. The rules vary considerably by city and county, so verify your local requirements rather than assuming.
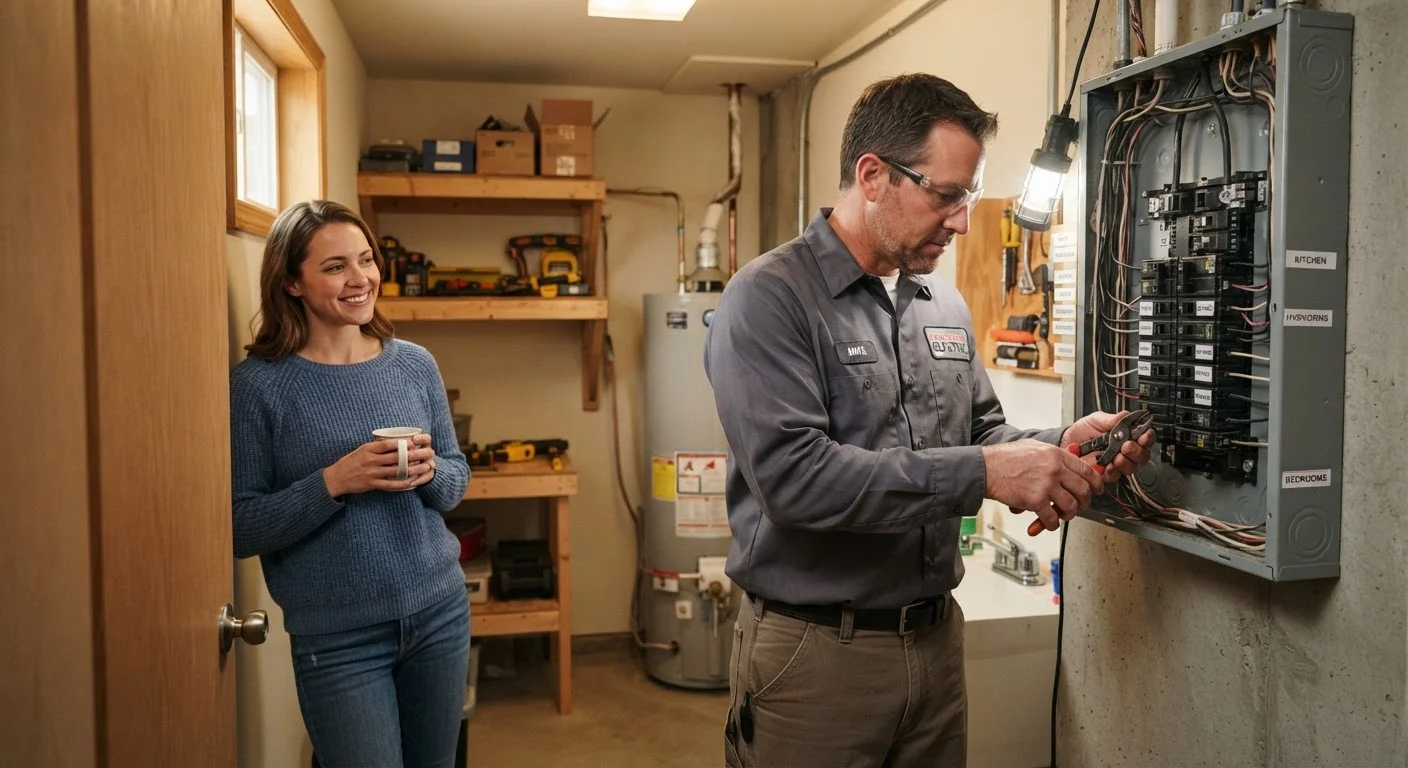
Some work should never be DIY regardless of your skill level. Electrical panel work, gas line connections, structural modifications, and work inside load-bearing walls all carry serious safety risks and are regulated in most jurisdictions. Our article on when to hire a licensed professional walks through the specific categories to watch for.
Sequence Your Work - Order Matters
Even well-funded, well-scoped projects fail when tasks are done in the wrong order. Painting before drywall patching is done, or installing flooring before plumbing rough-in is inspected, creates rework that costs both time and money. The general rule: proceed from structural to mechanical to finish work.
Map your task sequence before ordering any materials.
Out-of-sequence work is the leading cause of rework on home projects. Knowing the correct order prevents you from, say, painting trim before caulking is fully cured or setting tile before the subfloor is properly leveled. A written task list makes dependencies visible before they become problems.
Schedule inspections as part of the project timeline, not as an afterthought.
Permitted work typically requires inspections at specific stages - rough-in plumbing, electrical rough-in, framing - before the next phase can proceed. Failing to plan for inspection windows adds days or weeks of delay if an inspector can't come immediately.
Confirm material lead times before setting a start date.
Supply delays are common for custom items like cabinetry, windows, specialty tile, or fixtures. Starting demo before materials arrive leaves your home in a non-functional state for far longer than anticipated.
Document existing conditions with photos before any demolition.
Once walls open or fixtures come out, it becomes difficult to remember how things were originally configured. Photos of existing wiring routes, pipe locations, and structural details are invaluable during reconstruction and for future reference.
A project like a bathroom remodel, for instance, should follow a logical path: demolition → rough plumbing and electrical → inspection → cement board and waterproofing → tile → fixtures → finish carpentry → paint. Skipping or reordering steps in that chain means undoing completed work. For projects involving tile specifically, the complexity of layout and leveling is easy to underestimate - the DIY tile installation overview gives an honest picture of what that sequence involves.
Put Quick Wins to Work Right Away
Not every planning step requires days of research. Several high-impact habits can be adopted immediately to set any project up for success.
Good planning also extends to the project's aftermath. Once work is complete, file any permit close-out documentation, photograph finished work before walls are closed up, and add the project to your home's maintenance record. This documentation is valuable when you sell - and it keeps the work you invested in functioning well long-term. Consider pairing your improvement project with a regular seasonal maintenance routine to protect what you've built.