Why Bathroom Caulk Fails - and Why It Matters
Caulk is the flexible sealant that fills the gap between your bathtub, shower surround, or sink and the surrounding tile or wall surface. Unlike grout - which is rigid and fills the spaces between tiles - caulk is designed to flex slightly as surfaces expand and contract with temperature and humidity changes. That flexibility is also its weakness: over time, caulk shrinks, pulls away from surfaces, or becomes brittle and cracked.
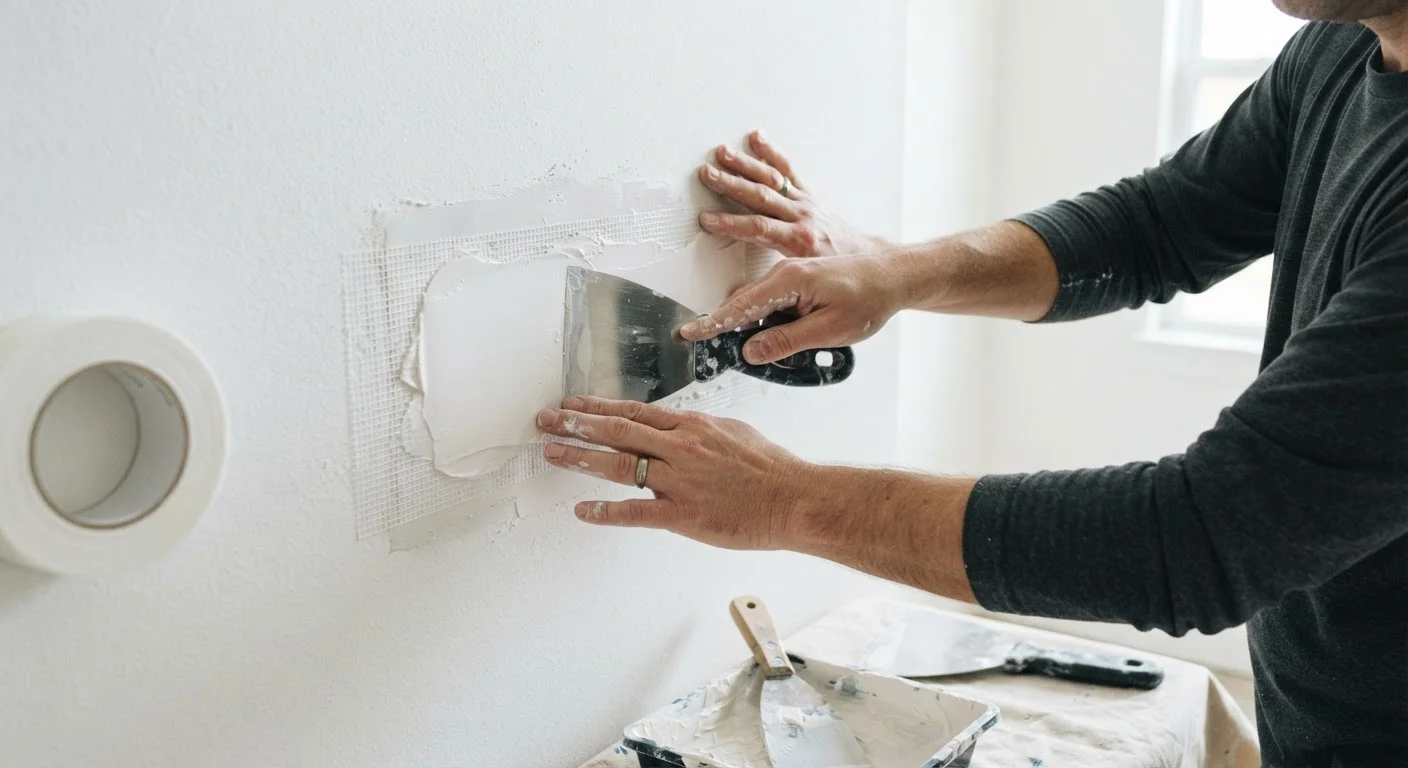
Once the seal breaks, water has a path straight into the wall cavity. Repeated moisture intrusion causes wood framing to rot, drywall to deteriorate, and mold colonies to take hold in places you cannot see. By the time visible damage appears - soft spots in drywall, staining, or persistent musty odors - remediation is far more involved than a simple recaulk. If mold has already reached the wall cavity, consult our drywall repair guide before proceeding.
The good news: re-caulking a tub or sink is a true beginner project. It requires inexpensive tools, modest skill, and a few hours of patience - mostly waiting for things to dry.
What you will need
Choosing the Right Caulk
Not all caulk is the same. For wet bathroom areas, look for one of two types:
- 100% silicone caulk - the most waterproof and mildew-resistant option. It can be harder to tool smoothly and requires mineral spirits for cleanup, but it outlasts other types in persistently wet zones like tub surrounds and shower bases.
- Siliconized latex (also called "kitchen and bath" caulk) - easier to apply and clean up with water, and still highly water-resistant. A good choice for sink perimeters and less-saturated areas.
Both types should be labeled for bathroom use and mildew resistance. Color-match to your grout or fixtures - bright white is the most common choice - and confirm the tube is not past its expiration date, as old caulk can fail to cure properly.
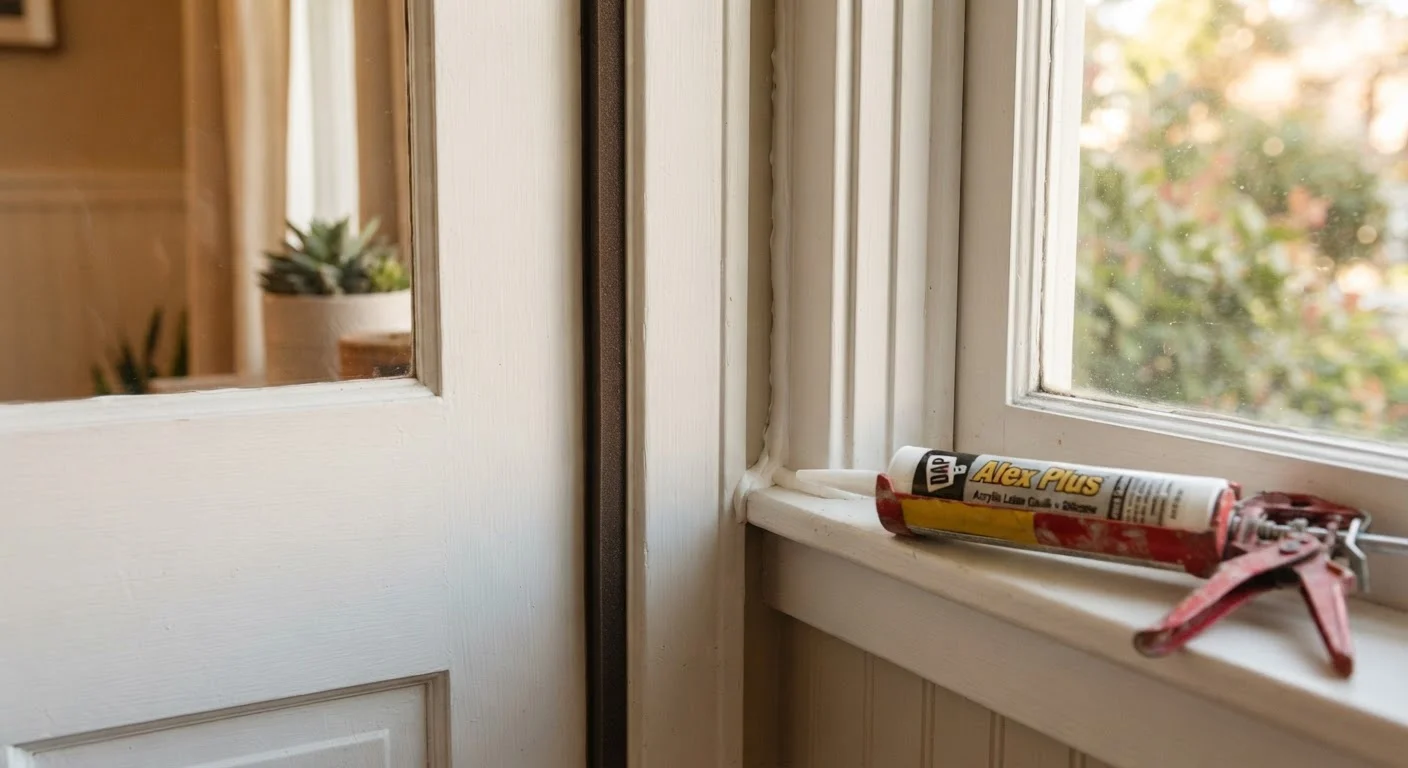
Note: caulk used for sealing gaps around windows and doors is a different application entirely. See our guide on caulk vs. weatherstripping for that context.
Remove all existing caulk
Use a caulk removal tool or a utility knife to score and lift the old bead away from both surfaces. Work slowly to avoid scratching the tub finish or gouging tile. After the bulk is removed, apply a caulk remover gel (available at hardware stores) to any stubborn residue, let it soften for the time noted on the label, then scrub with a stiff nylon brush. Avoid metal scrapers on acrylic or fiberglass tubs.
Clean and disinfect the joint
Mix a solution of one part household bleach to four parts water in a spray bottle. Spray the entire joint area - including the tile, the tub rim, and any recessed grout lines nearby - and let it sit for 10 minutes to kill mold spores. Rinse with clean water, then wipe dry with a clean cloth. This step is not optional: any surviving mold underneath new caulk will degrade the bond and reappear as dark staining.
Allow surfaces to dry completely
This is the step most homeowners rush - and the most common reason re-caulking jobs fail. Both surfaces must be completely dry before you apply new caulk. Allow at least 24 hours with the bathroom well-ventilated. Running a fan or dehumidifier speeds the process. If you see any fogging on the surfaces or feel any coolness suggesting residual moisture, wait longer.
Mask the joint with painter's tape
Apply two strips of painter's tape - one on the tile surface and one on the tub rim - running parallel to the joint, leaving just the gap you want to fill exposed. Straight tape lines produce a clean, factory-looking bead and are especially helpful if this is your first time caulking. Press the tape edges firmly so caulk cannot bleed underneath.
Load the caulk gun and cut the tip
Load your caulk tube into a standard caulk gun. Cut the tip at a 45-degree angle, making the opening roughly 3/16 inch wide. Pierce the inner foil seal with the puncture tool on the caulk gun or a thin nail. Before starting on the real joint, practice on a piece of cardboard: squeeze the trigger steadily while pulling the gun toward you at an even pace to produce a consistent bead.
Apply the caulk bead
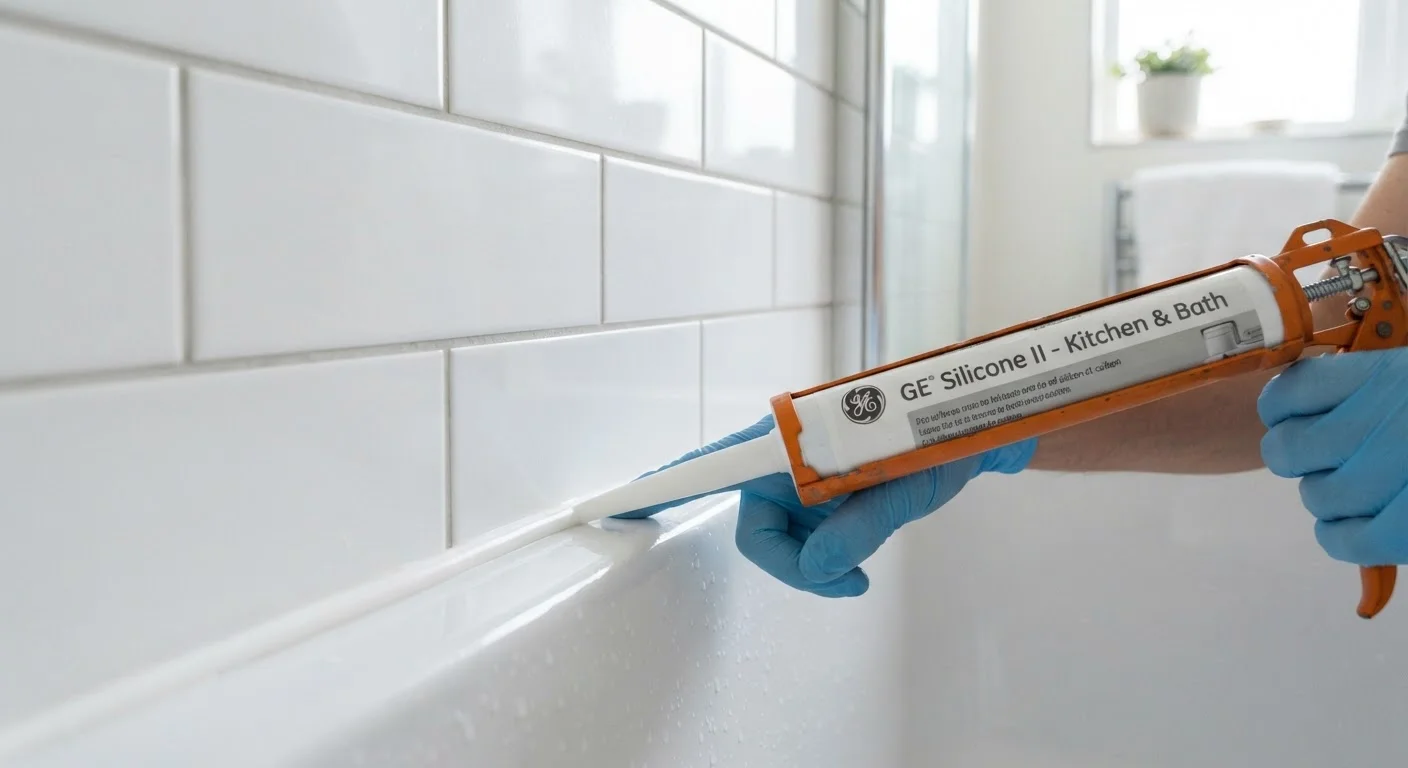
Hold the caulk gun at roughly 45 degrees to the joint. Starting at one corner, squeeze the trigger with steady, even pressure while drawing the gun along the seam in one continuous motion. Aim to fill the joint in a single pass rather than stopping and starting. Keep your pace consistent - moving too slowly deposits excess caulk; moving too fast leaves thin spots or gaps.
Tool the bead and remove tape
Immediately after applying the bead, wet your fingertip or a caulk finishing tool and drag it smoothly along the joint in one motion to press the caulk into the seam and create a concave profile. Then, while the caulk is still wet, peel away the painter's tape at a 45-degree angle. Remove it before the caulk skins over - typically within a few minutes - or the tape may pull chunks of the fresh bead with it.
Allow full cure before using the shower or tub
Silicone caulk typically requires 24 to 72 hours to fully cure; latex-based products often cure in 24 hours. Check the label for the manufacturer's recommended cure time. Avoid water contact - including splashing - until curing is complete. Running the bathroom exhaust fan during the cure period helps remove humidity that can slow the process.
Common Pitfalls and Finishing Tips
Even a well-applied bead of caulk can fail early if a few basics are overlooked.
- Applying over old caulk: New caulk will not bond reliably to an existing layer. Always remove the old material completely before starting.
- Wet surfaces: Any residual moisture under fresh caulk prevents adhesion. The 24-hour drying window is not a suggestion - skip it and you may peel off your new bead within weeks.
- Cutting the tip too wide: A smaller opening (about 3/16 inch) gives you more control. You can always widen the cut, but you cannot undo a tip that's too large.
- Skipping the painter's tape: Tape takes two minutes to apply and produces clean, professional lines. It is especially helpful for first-timers still developing a steady hand.
Re-Caulk on a Yearly Schedule
Even well-applied caulk in a heavily used bathroom typically lasts three to five years. Make a habit of inspecting all caulked joints every fall - look for discoloration, cracking, or any gap between the bead and the surface. Catching early deterioration means a simple re-caulk rather than a costly mold or water-damage repair.
Once the caulk is fully cured - typically 24 to 48 hours for latex types, and up to 72 hours for silicone - run water along the sealed area and watch for any beading or gaps. A properly sealed joint will repel water cleanly with no pooling at the seam.