
Step 1: Identify the Real Need
Every smart purchase starts with an honest question: do I actually need this? Distinguishing a genuine need from a want shaped by marketing or social pressure is the single most powerful money-saving habit you can build.
Write down what problem you're trying to solve. Be specific. "I need a way to carry groceries without bags splitting" is a more useful starting point than "I want a new tote." This specificity will guide every subsequent decision - including whether you need to buy anything at all. Sometimes the right answer is to repair, borrow, or simply go without.
If the answer is a clear yes to purchasing, jot down the minimum requirements the item must meet. These become your non-negotiables during research.
Step 2: Set a Budget Before You Research
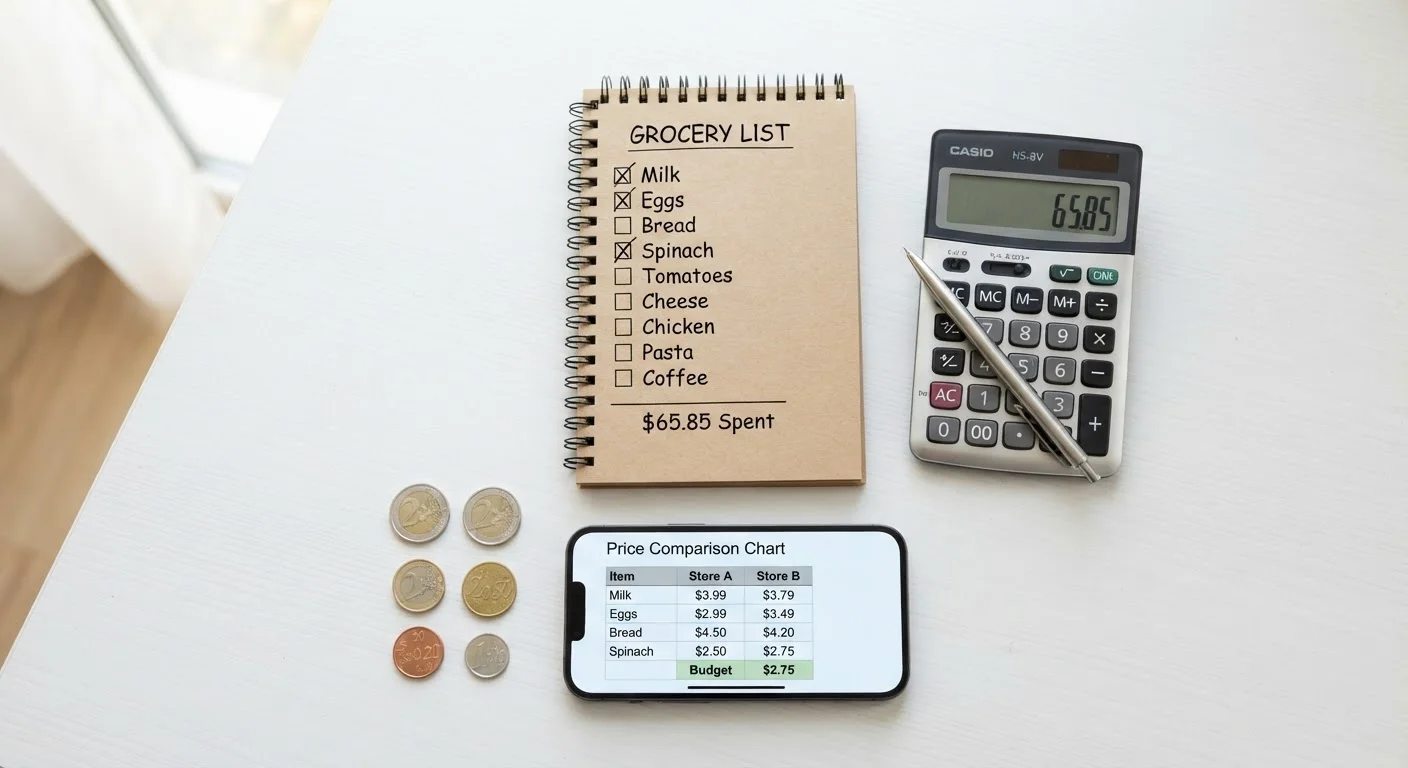
Setting a budget before browsing is critical. The moment you look at products, anchoring bias kicks in - your sense of a reasonable price shifts toward whatever you see first. Decide what you can genuinely afford, then hold that number.
Factor in the total cost of ownership, not just the sticker price. A printer may cost $60 upfront, but ink cartridges can run hundreds of dollars annually. For categories like vehicle purchases, total cost includes insurance, fuel, maintenance, and registration - not just the loan payment.
Build a personal "cooling-off rule": for any purchase above $50, wait 24 hours before buying. For purchases above $200, wait 48 hours.
Research on consumer behavior consistently shows that a time delay significantly reduces impulse purchases, because the emotional urgency that drives unplanned buying fades quickly.
When reading online reviews, sort by "most recent" and filter for verified purchasers - then read the three-star reviews first, as they tend to be the most balanced and candid.
Five-star and one-star reviews are disproportionately written by people with extreme experiences; middle-range verified reviews from recent buyers often surface realistic everyday use cases.
Once you have a ceiling, give yourself a small buffer - roughly 10-15% - for unexpected costs like shipping, installation, or accessories. But treat the ceiling as firm.
Step 3: Research Products and Sources
Good research means consulting multiple independent sources. Manufacturer websites describe features but aren't objective. Retailer pages reflect inventory and margin. Seek out consumer advocacy organizations, verified buyer reviews from documented purchasers, and editorial publications with disclosed methodology.
Pay close attention to who is writing what you're reading. Many "review" sites earn commissions from purchases - this doesn't make their information wrong, but it does mean you should cross-reference. The Finding Best Deals hub is a good starting point for understanding how to locate credible savings information across categories.
Note any recurring complaints across reviews - those patterns matter far more than individual five-star or one-star outliers.
Step 4: Evaluate and Compare Options
Narrow your field to two or three candidates that meet your minimum requirements and fit your budget. Then compare them on factors that matter to your actual use case - not the longest feature list.
A simple comparison table works well here: list your non-negotiables down one side and candidate options across the top. Mark which candidates meet each criterion. This visual approach prevents you from being swayed by impressive-sounding extras you won't use.
Before finalizing, run through the pre-purchase checklist to confirm you haven't skipped a critical evaluation step. It's a quick gut-check that surfaces overlooked questions about warranties, return policies, and compatibility.
Step 5: Make the Purchase Thoughtfully
When you're ready to buy, resist urgency. Countdown timers and "only 3 left" notices are standard retail tactics designed to compress your decision-making. Unless you have documented evidence that a price is genuinely time-limited, most deals recur.
Before clicking or swiping, do a final check: run through a pre-purchase savings checklist to confirm you haven't missed an applicable discount, a better price elsewhere, or a cashback opportunity through your credit card or bank.
Keep a record of your purchase: screenshot the order confirmation, save the receipt, and note the return window deadline in your calendar. These small steps cost two minutes and can save significant hassle later.
Step 6: Post-Purchase Follow-Up
The buying process doesn't end at checkout. Post-purchase follow-up is where many shoppers leave value on the table or lose rights they're entitled to.
- Register the product if the manufacturer requires it to activate a warranty.
- Inspect immediately. Test for defects or missing parts within the return window - don't wait.
- Track price-drop policies. Some retailers offer price-match protection for 30 days after purchase. If the price drops, request an adjustment.
- Review and reflect. After a few weeks of use, honestly assess whether the purchase solved the original problem. This reflection improves your process for next time.
Shoppers who approach sales and deal-hunting with a structured process consistently report fewer impulse buys and less buyer's remorse. The six steps above aren't complicated - they just require the discipline to follow them every time.