Why Plant Tags Matter More Than You Think
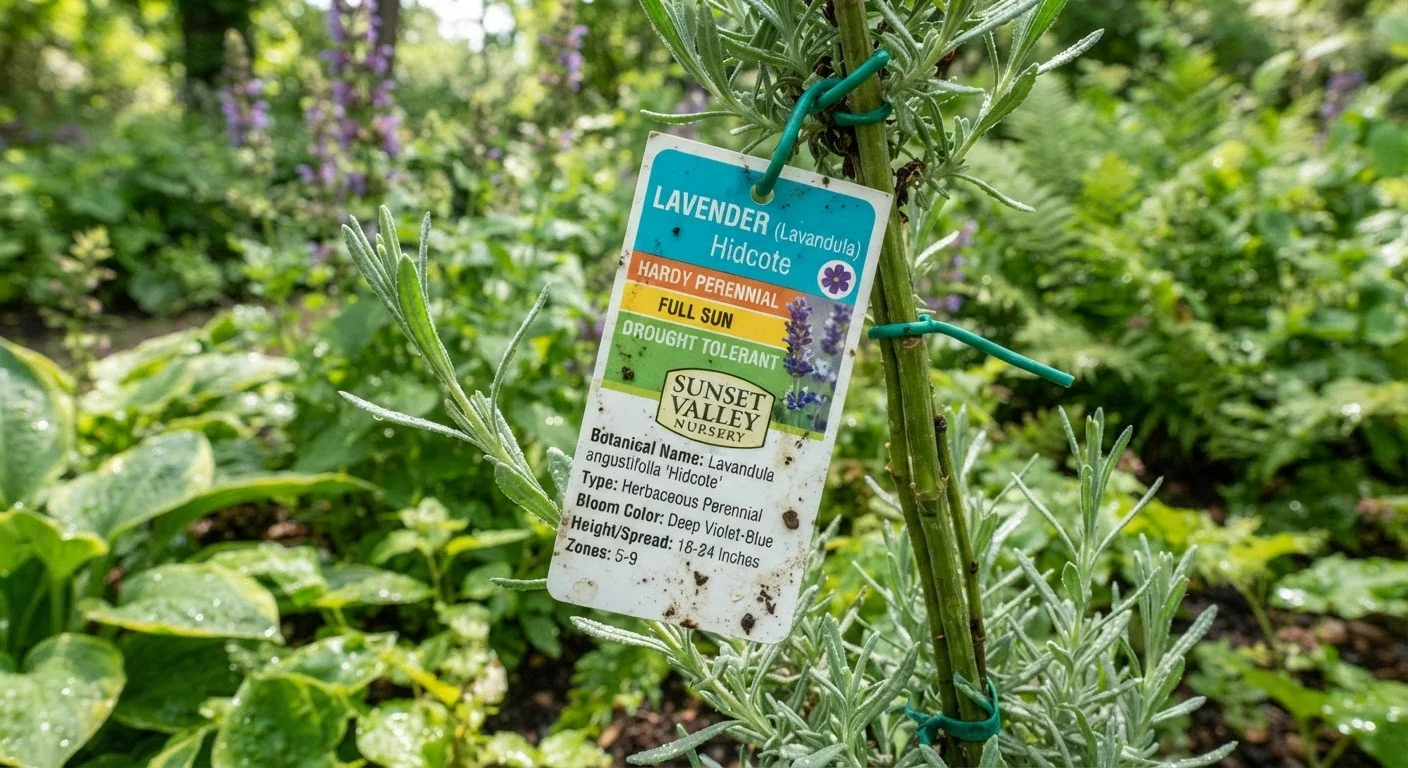
That small plastic tag tucked into a pot of petunias or a shrub at the nursery is essentially a care manual in miniature. It tells you where the plant wants to live, how large it will grow, how much water it needs, and whether it will survive your winters. Skipping it is one of the most common reasons plants underperform or die in the first season.
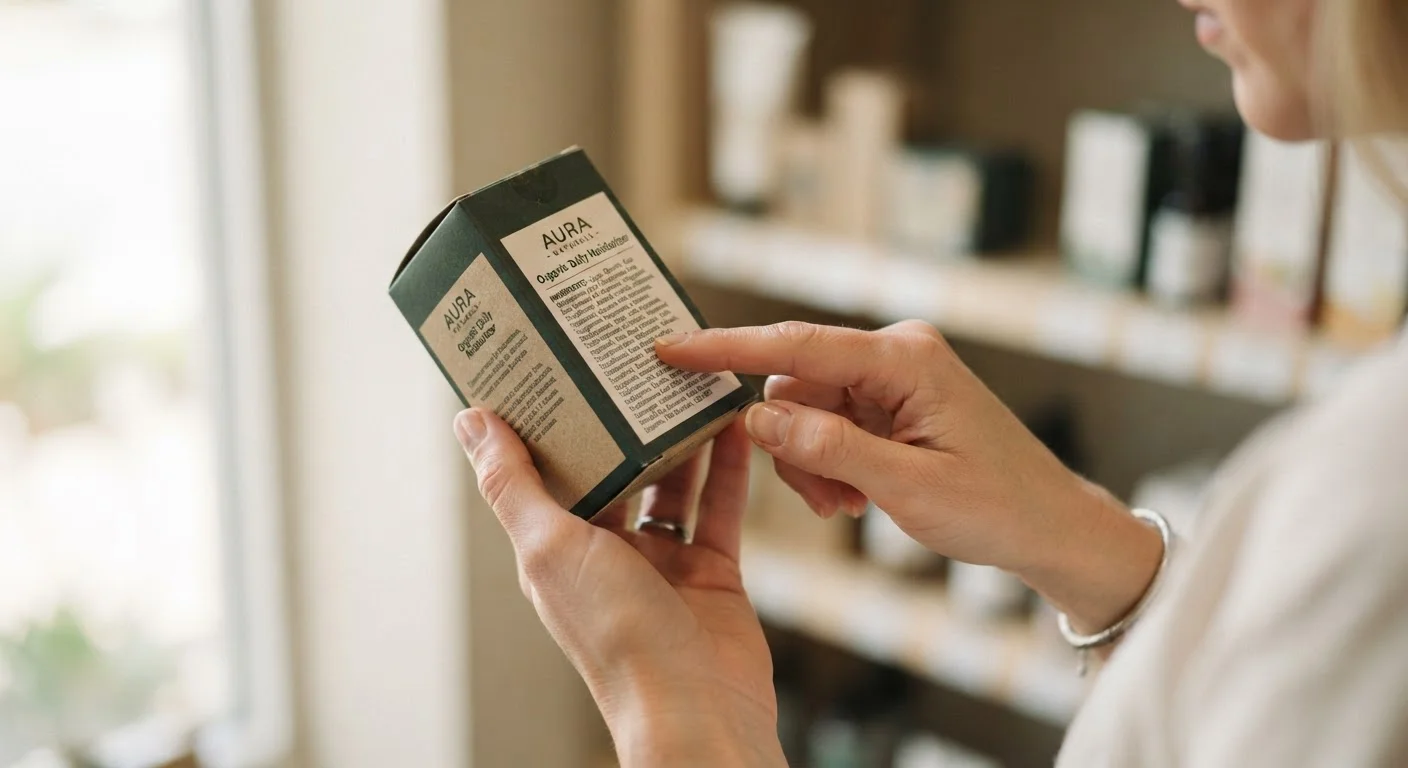
Plant tags aren't perfectly standardized across every grower, but the core symbols and fields are consistent enough that once you learn the shorthand, you can decode nearly any tag in under a minute. Think of it the way you'd approach any label - like how the product labels guide breaks down what's regulated versus what's just marketing language, plant tags carry both hard data and shorthand worth understanding.
| Standard light categories | Full Sun, Part Sun/Shade, Full Shade |
| Full Sun definition | 6+ hours of direct sunlight daily (USDA / cooperative extension consensus) |
| USDA Hardiness Zones (US) | Zones 1-13 (coldest to warmest) (USDA Plant Hardiness Zone Map) |
| Mature size timing | Typically reached in 3-10 years depending on species |
| Common water icons | 1 droplet = low, 2 = moderate, 3 = high |
| Deer resistant label | Less preferred - not immune to deer browsing |
Decoding the Key Fields on a Plant Tag
Here's what each section of a typical plant tag actually means and how to use it.
Hardiness Zone
Usually listed as a range like Zones 4-9, this references the USDA Plant Hardiness Zone Map, which divides North America into zones based on average annual minimum winter temperatures. If your zone falls within the range on the tag, the plant can reasonably survive your winters outdoors. If your zone is colder than the lower number, treat the plant as an annual or overwinter it indoors.
Light Requirements
Tags use three standard categories: Full Sun (6+ hours of direct sunlight daily), Part Sun / Part Shade (3-6 hours), and Full Shade (fewer than 3 hours). Matching this to your actual yard conditions is one of the highest-impact decisions you'll make for a plant's success.
Mature Height and Spread
Listed in feet or inches, these dimensions describe what the plant reaches at full growth - not what it looks like in the pot. A tag reading H: 4-6 ft / W: 3-4 ft means you need to plan spacing accordingly. Crowding plants causes poor air circulation and disease.
Spacing
Sometimes shown separately, spacing tells you how far apart to plant multiple specimens. This accounts for both root spread and canopy coverage at maturity.
Water Needs
Often shown as icons - one droplet for low, two for moderate, three for high - or as text like drought tolerant or keep evenly moist. Match this to your irrigation habits or rainfall patterns.
Bloom Time and Color
Tells you what season flowers appear and what color to expect. Useful for planning a garden that has visual interest across multiple seasons.
Hardiness Zone
A geographic designation from the USDA Plant Hardiness Zone Map indicating the coldest average winter temperatures an area experiences. Plants rated for a zone can typically survive that zone's winters outdoors.
Full Sun
A light condition requiring at least six hours of direct, unobstructed sunlight per day. Many vegetables and flowering plants need this to produce well.
Mature Spread
The expected width of a plant at full growth, measured at the widest point of the canopy or root zone. Used to determine correct planting spacing.
Annual vs. Perennial
Annuals complete their life cycle in one growing season and must be replanted. Perennials die back in winter but return from their roots each spring within their hardiness range.
Drought Tolerant
A plant's ability to survive extended periods without supplemental watering once established. This does not mean the plant needs no water at all - newly planted specimens still require regular watering until roots are established.
Part Shade
A light condition providing three to six hours of direct sun per day, often with shade during the hottest afternoon hours. Many woodland plants and ferns prefer this condition.
Common Symbols You'll See
Beyond text, many tags use icons to communicate quickly. Here's a reference for the most common ones:
- Sun icon (solid): Full sun
- Half sun / half shade icon: Part sun or part shade
- Moon or solid shade icon: Full shade
- Droplet(s): Water needs - more droplets mean higher moisture requirements
- Snowflake: Frost or freeze tolerant
- Butterfly or bee icon: Pollinator-friendly plant
- Deer silhouette with an X: Deer resistant (not deer proof)
Note that deer resistant means the plant is less preferred by deer, not that deer will never touch it - particularly if food is scarce. Keep this distinction in mind when planning a landscape in deer-prone areas.