Why Interior Paint Jobs Fail
A fresh coat of paint is one of the most cost-effective ways to transform a room - but it's also one of the easiest home improvement projects to get wrong. Streaky finishes, peeling edges, and persistent lap marks don't happen because a homeowner used bad paint. In almost every case, they happen because of decisions made before the roller ever touched the wall.
Understanding why these failures occur is more useful than a list of rules. When you know the mechanics behind a peeling seam or a blotchy finish, you can troubleshoot on the fly and catch mistakes before they set. The errors below represent the most common points of failure in interior paint jobs - along with clear, practical guidance on how to sidestep each one.
Primer Is Never Truly Optional
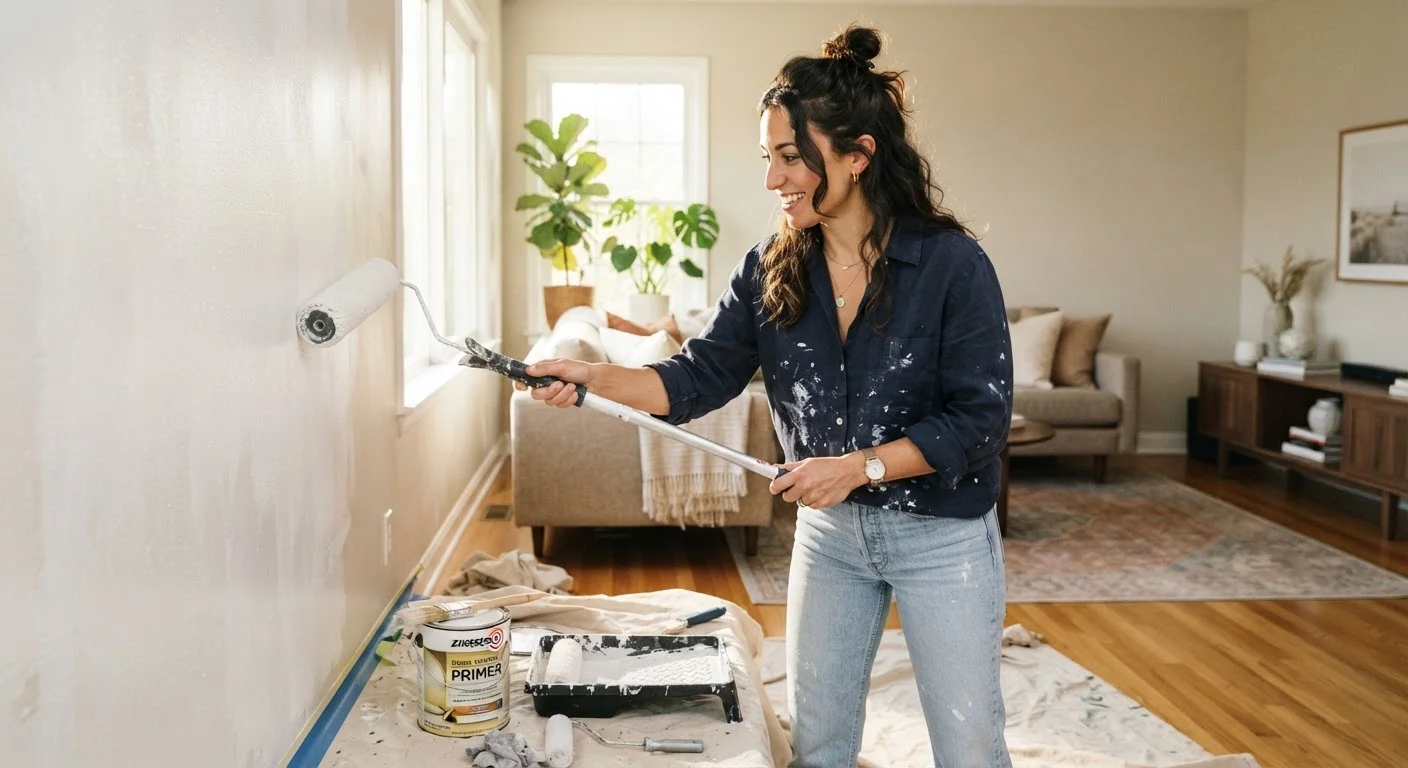
One of the most persistent myths in DIY painting is that primer can be skipped on walls that 'look fine.' Without primer, topcoats absorb unevenly into porous or patched surfaces, producing dull spots and requiring extra coats to compensate. This is especially true after drywall repairs. The home improvement myths that cost homeowners time and money go into further detail on why skipping primer leads to redone work.
The Most Common Interior Painting Mistakes
Each of the mistakes below follows a predictable pattern: a shortcut that feels reasonable in the moment leads to a result that requires far more work to correct than the shortcut saved. Working through them in order mirrors the sequence of a real paint job - from prep through final coat.
Skipping surface cleaning and prep before painting.
Why it happens: Walls that look clean often carry invisible grease, dust, and soap residue - especially in kitchens and bathrooms. Homeowners assume a visual inspection is enough.
Painting over walls that are still damp or haven't dried after cleaning.
Why it happens: Impatience is usually the culprit. Homeowners clean walls and then immediately apply primer or paint without giving moisture time to escape.
Overloading the brush or roller with too much paint.
Why it happens: More paint feels faster and more efficient, but excess paint on the applicator leads to drips, uneven texture, and runs that dry into permanent ridges.
Letting paint edges dry before blending the next section, creating lap marks.
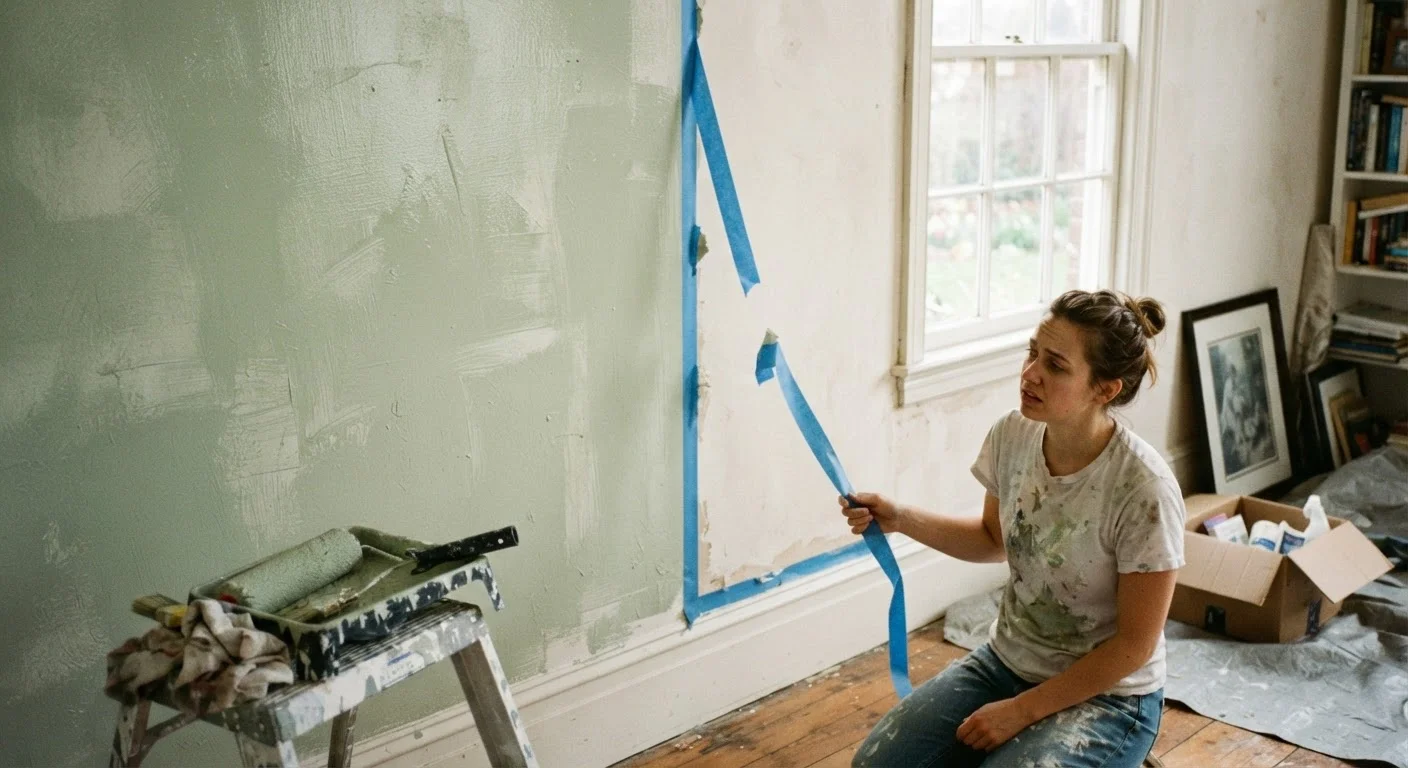
Why it happens: Lap marks happen when a painter stops mid-wall and resumes after the previous stroke has already begun to set. The overlap creates a visible ridge or color difference.
Applying a second coat before the first has dried sufficiently.
Why it happens: Color that looks dry to the eye may still be chemically curing. Applying a second coat too early traps moisture, causing bubbling, peeling, or a tacky finish that never fully hardens.
Using the wrong sheen level for the room or surface.
Why it happens: Many homeowners choose paint sheen by personal preference or whatever is on sale, unaware that sheen affects both durability and how prominently wall imperfections appear.
Getting the prep right also translates to other surfaces around the home. The same principle - clean, dry, properly primed - applies whether you're refreshing walls or protecting exterior materials.
Don't Paint Over Damaged or Unpatched Walls
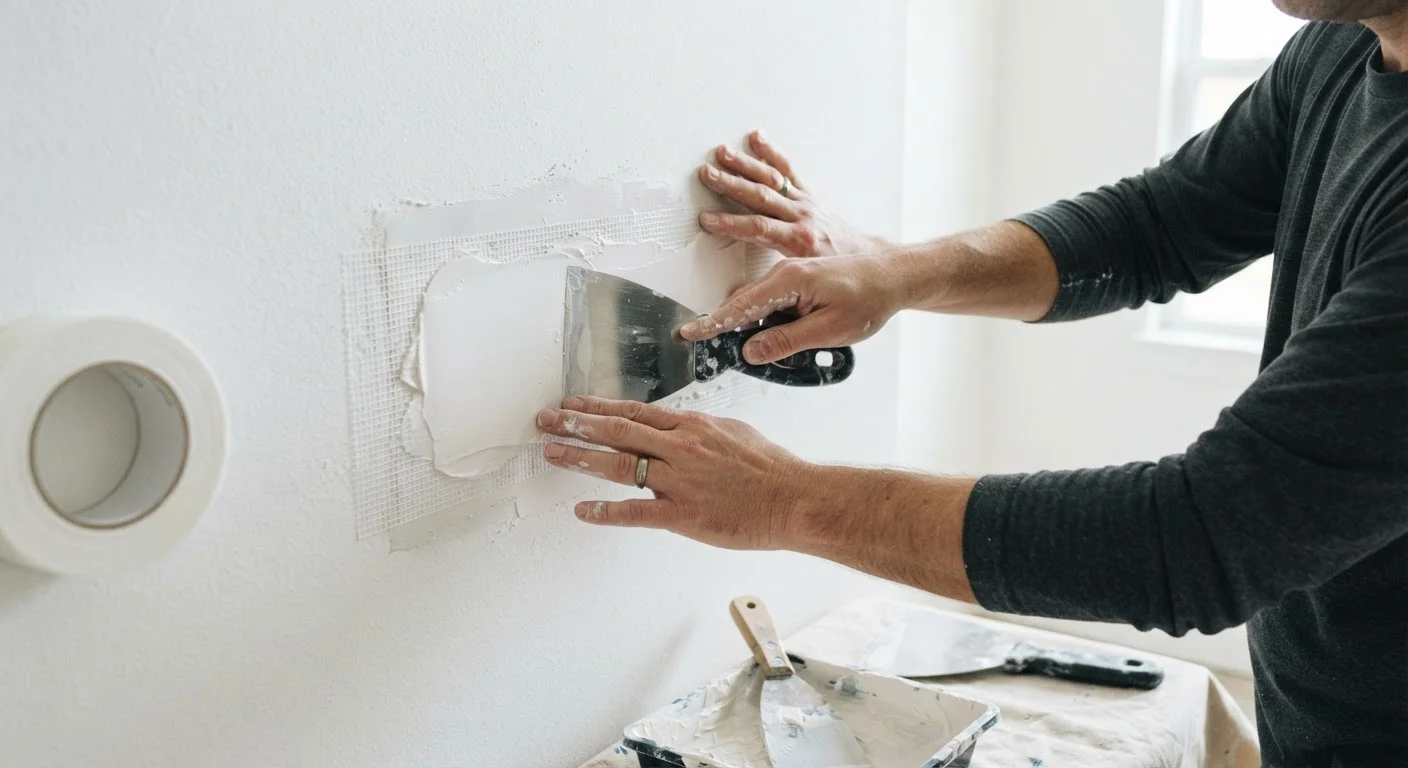
Paint will not hide cracks, holes, or nail pops - it will actually make them more visible once light hits the finished surface. Always repair and sand damaged areas before applying any paint. For guidance on repairs, see patching drywall the right way before you pick up a brush.
Setting Yourself Up for a Clean, Lasting Finish
The good news: every mistake listed above is entirely preventable. Most interior paint failures come down to rushing two things - surface preparation and drying time. Give both the time they actually need, and the painting itself goes more smoothly and requires fewer corrective coats.
Before any project, check whether wall repairs are needed. Hairline cracks and small holes are far easier to address before painting than after. Our guide to patching drywall the right way walks through the process so repairs blend invisibly with surrounding surfaces.
Finally, keep the room's ventilation in mind throughout the process. Adequate airflow helps each coat cure evenly and reduces the risk of bubbling or tackiness that plagues low-airflow spaces. Open windows, run a fan if needed, and resist the urge to close the room up between coats. Patience at every stage is what separates a paint job that looks good for years from one that needs redoing by the following season.
2-3×
Extra coats needed when primer is skipped
Industry painting guides consistently note that unprimed or improperly prepared surfaces require significantly more topcoat to achieve uniform coverage.
70%
Of paint failures traced to poor surface prep
Paint manufacturers and professional trade associations commonly attribute the majority of adhesion failures to inadequate surface preparation rather than product defects.