
What You're Actually Looking At
A home inspection report is a licensed inspector's written record of the observable condition of a property at a specific point in time. Most reports follow a system-by-system structure - roofing, exterior, foundation, plumbing, electrical, HVAC, interior, insulation, and attic - and run anywhere from 20 to 60 pages depending on the home's size and age.
The first page usually identifies the inspector's license number, the property address, date of inspection, weather conditions, and the report's scope. That scope matters: inspectors assess what is visible and accessible on the day of inspection. They are not engineers, and their findings are not a guarantee of future performance. Understanding this boundary up front prevents misplaced expectations later.
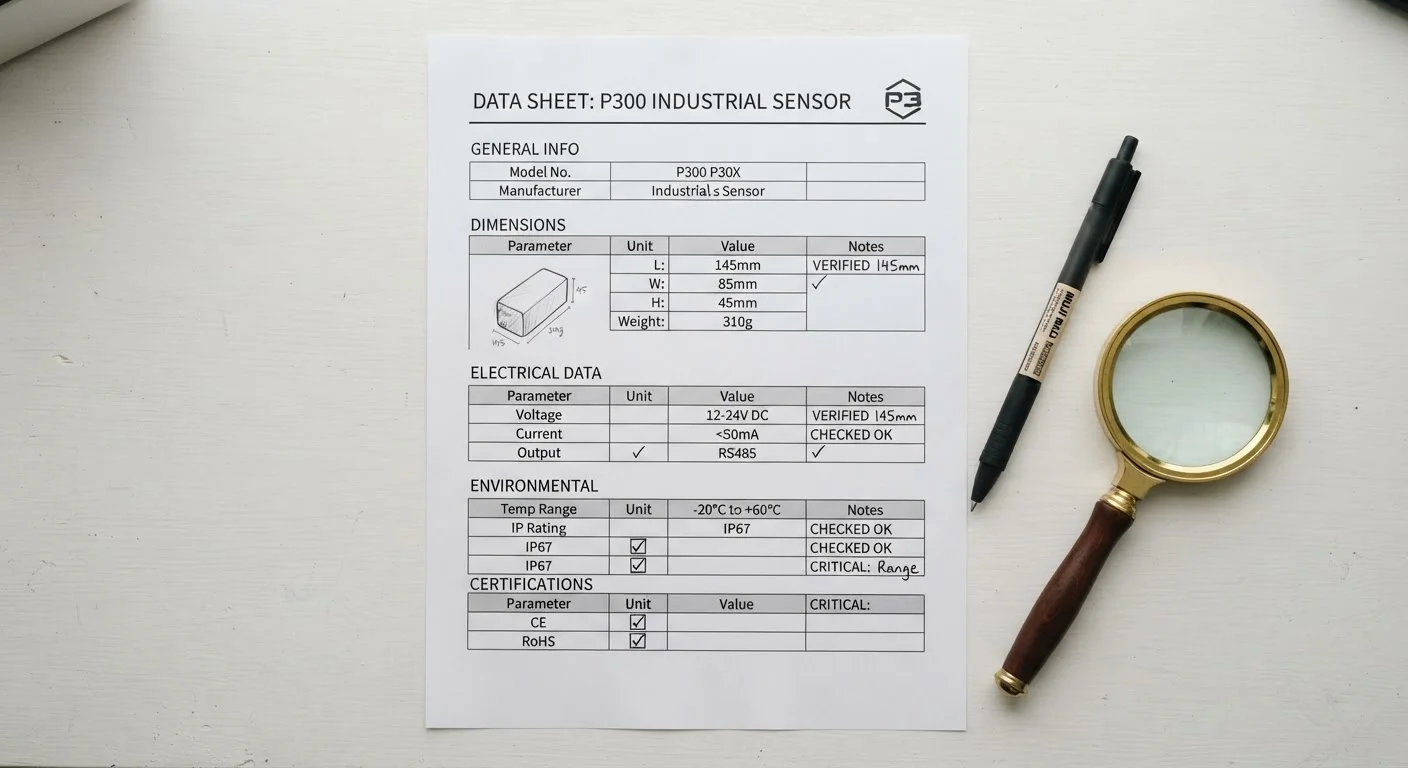
Most reports use a consistent rating system throughout. Common labels include Satisfactory, Marginal, Deficient, and Safety Concern. Ask your inspector at the start of the engagement what each label means in their system - definitions can vary between firms. Just as you'd parse a complex specification sheet by learning its terminology first, the same discipline applies here.
How to Prioritize What You Find
When the report arrives, resist the urge to count deficiencies. A 10-item report with one electrical hazard is more consequential than a 40-item report full of caulking and weatherstripping notes. Triage by category:
- Safety hazards - Missing GFCI outlets near water, improper venting of gas appliances, active roof leaks, faulty wiring, or compromised smoke detector systems. These require immediate attention regardless of cost.
- Structural and system deficiencies - Foundation cracks with movement evidence, roof at end of service life, aging HVAC with imminent failure signs, or galvanized plumbing in older homes. These carry significant repair or replacement costs and are your primary negotiating leverage.
- Deferred maintenance - Peeling exterior paint, minor grading issues, dirty filters, stiff door hardware. Real, but low-urgency. Most buyers absorb these as normal ownership costs.
Your real estate agent and attorney can help you determine which findings to include in a repair request versus accept as-is. This is general guidance; your specific situation - purchase price, local market conditions, and the seller's position - will shape that calculus. For broader context on how to evaluate market-specific data before acting, see our piece on drawing conclusions from housing market reports.
Ask for the Inspector's Verbal Opinion
Written reports are constrained by legal language and professional liability, which can make findings sound more alarming - or more benign - than they are in practice. A direct conversation with your inspector often clarifies which issues genuinely concern them versus which are routine notations they include on every report. Most inspectors are willing to speak with buyers during the contract period.
Step-by-Step: Working Through the Report
Read the Summary Page First, Then Set It Aside
Most reports include a summary page that lists all flagged items in one place. Read it for orientation, but don't stop there. Summaries strip context - a note that reads "damaged flashing at chimney" tells you nothing about severity. Return to the full section for each flagged item to understand what the inspector observed and what they recommend.
Go Section by Section, Not Item by Item
Work through the report in the order it's written: exterior first, then roof, foundation, plumbing, electrical, HVAC, and interior. Reading each system as a whole gives you a coherent picture of that component's condition rather than a disjointed list of bullet points. Take notes on a separate sheet as you go.
Look at the Photos Alongside the Text
Modern inspection reports include photographs keyed to each finding. Always view the photo and the written description together - the image often shows exactly where the problem is located and how extensive it appears. If a photo is blurry or unclear, note it as a question for your follow-up call with the inspector.
Flag Items by Severity, Not by Count
Create three buckets as you read: Act Now (safety hazards and major system failures), Negotiate (significant deficiencies with meaningful repair costs), and Monitor or Accept (deferred maintenance and cosmetic issues). This framework turns a 50-page document into an actionable shortlist.
Schedule a Debrief Call With Your Inspector
Before submitting any repair requests to the seller, speak directly with your inspector. Ask them to clarify any findings you don't understand, confirm which items they consider most urgent, and explain whether any issues require a specialist follow-up. Inspectors are a paid resource - use them fully during the contract window.
After You've Read the Report
Once you've worked through the full report, compile your findings into two lists: items you'll ask the seller to address (repair, credit, or price reduction) and items you'll handle yourself after closing. If you proceed to ownership, that second list becomes your early homeownership work queue - a natural starting point for the kind of systematic improvement work covered in our guide on getting started with home improvement.
If a finding is ambiguous - a structural crack the inspector flagged but couldn't fully evaluate - request a specialist inspection before closing. Most purchase contracts allow for this. An additional $300-$600 for a structural engineer's opinion is far less costly than discovering a major issue post-close.
Reading an inspection report is a learnable skill. The more deliberately you approach it - section by section, severity by severity - the more confidently you'll move through the rest of your transaction.
This article is for general informational purposes only and does not constitute legal, financial, or real estate advice. Consult a licensed real estate professional, attorney, or inspector for guidance specific to your situation.