Why Indoor Seed Starting Changes Your Whole Season
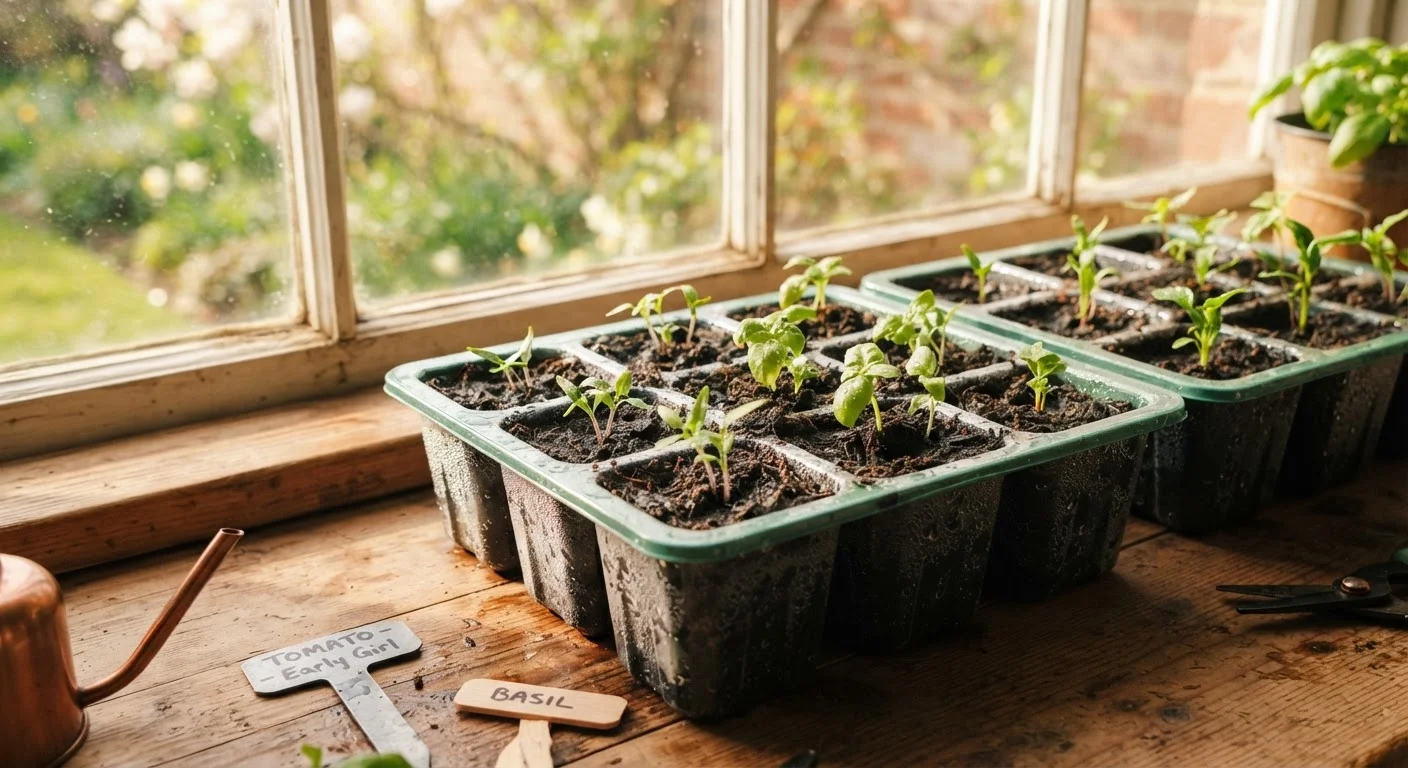
Starting seeds indoors before the last frost is one of the highest-leverage moves a home gardener can make. It extends your effective growing season by weeks, gives you access to varieties that aren't available as nursery transplants, and puts you in control of exactly how your plants start life.
The approach works for a wide range of vegetables, herbs, and annual flowers - tomatoes, peppers, eggplant, basil, broccoli, and many more. The general rule of thumb is to start seeds indoors 6-10 weeks before your average last frost date, though exact timing varies by crop. Check your local cooperative extension service or a regional frost date database to find the right date for your zip code.
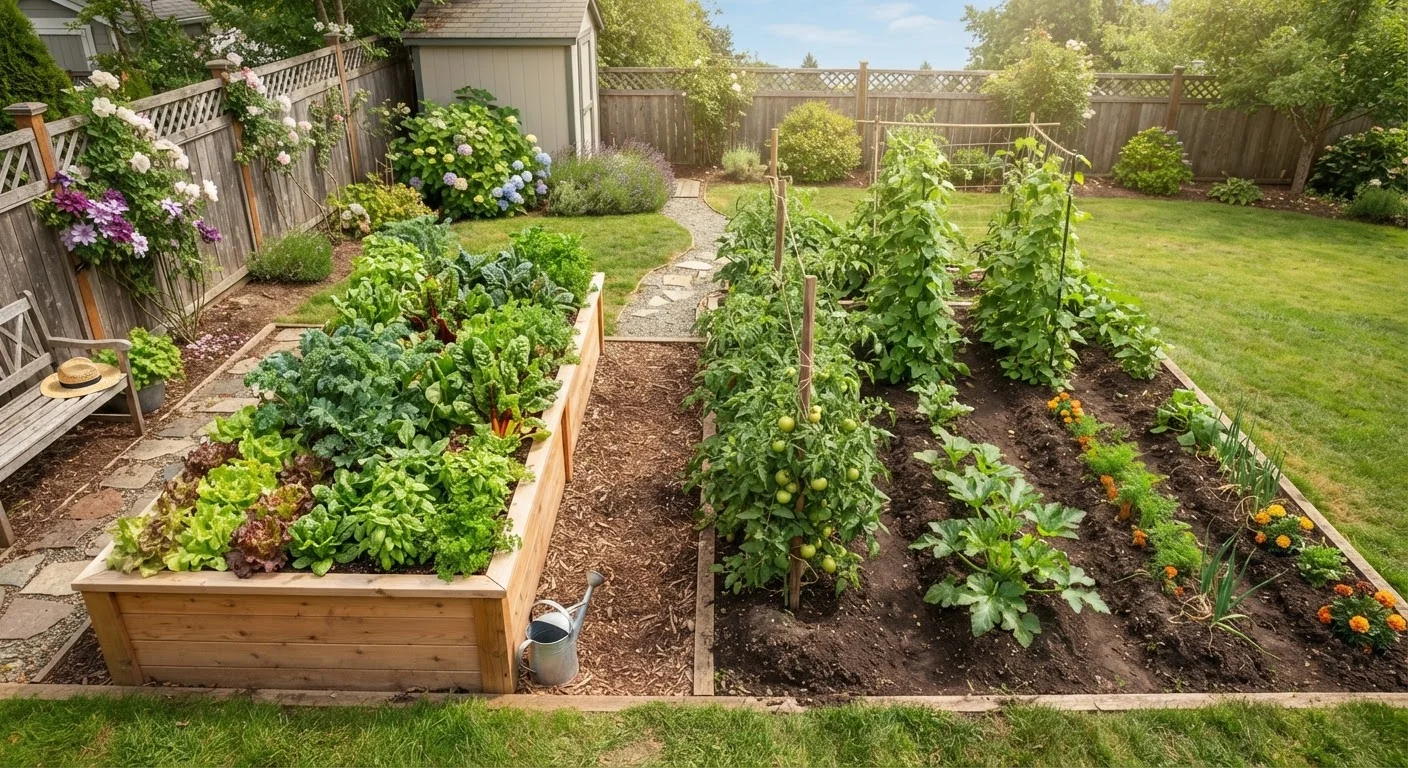
Once your transplants are ready and your beds are prepared, you'll want to think through where they'll live - see our guide on raised beds vs. in-ground planting to choose the right setup for your yard.
Timing and Planning
Containers and Growing Medium
Light and Heat Setup
Sowing and Labeling
Seedling Care and Hardening Off
Tools and Supplies You'll Need
Before you sow a single seed, gather your supplies. Improvising mid-setup leads to inconsistent results. The checklist below covers everything from containers to labels, and none of it requires a large investment to get right.
Seed-starting trays or cell packs
Provide individual compartments that make transplanting easy without disturbing root systems.
Seed-starting mix
A fine-textured, sterile growing medium formulated specifically for germination - not interchangeable with garden soil.
Grow light or T5 fluorescent fixture
Delivers consistent, adequate light intensity that windowsills often cannot match, preventing leggy seedlings.
Heat mat
Maintains optimal soil temperature for germination, especially in cool indoor environments.
Humidity dome
Retains moisture around seeds before germination, reducing the need for frequent surface watering.
Plant labels and waterproof marker
Keeps varieties and sow dates organized so nothing gets mixed up across a full tray setup.
Spray bottle or watering can with a fine rose head
Allows gentle watering that won't displace seeds or disturb delicate emerging roots.
One often-skipped item worth highlighting: a heat mat. Soil temperature - not air temperature - drives germination. Most vegetable seeds germinate best between 65°F and 85°F depending on the crop. A heat mat keeps the root zone warm even in a cool room, dramatically improving germination rates and speed. Once seedlings emerge, many crops no longer need bottom heat and can come off the mat.
Setting Up for Success: Tips on Light and Moisture
Two variables derail more indoor seed-starting attempts than any others: insufficient light and uneven moisture.
Light: A sunny south-facing windowsill sounds adequate, but most windows deliver far less light intensity than seedlings need, especially in winter and early spring. Grow lights positioned 2-4 inches above the tops of seedlings and run for 14-16 hours per day produce far more reliable results. Leggy, pale seedlings that stretch toward the window are a classic sign of light deprivation.
Moisture: Seed-starting mix should feel like a wrung-out sponge - damp throughout but not waterlogged. Overwatering is a leading cause of damping off, a fungal condition that collapses seedlings at the soil line seemingly overnight. Water from the bottom by setting trays in a shallow pan of water and letting the mix absorb moisture upward. Remove the tray from standing water after 20-30 minutes.
Damping Off Can Wipe Out a Tray Overnight
Damping off is a fungal disease that causes seedlings to collapse at the soil line, usually within days of emergence. It thrives in overly wet, poorly ventilated conditions. To reduce the risk, always use sterile seed-starting mix, avoid overwatering, and ensure air can circulate around your seedlings - a small fan set to low nearby helps considerably. Once damping off sets in, there is no effective cure; prevention is the only real strategy.
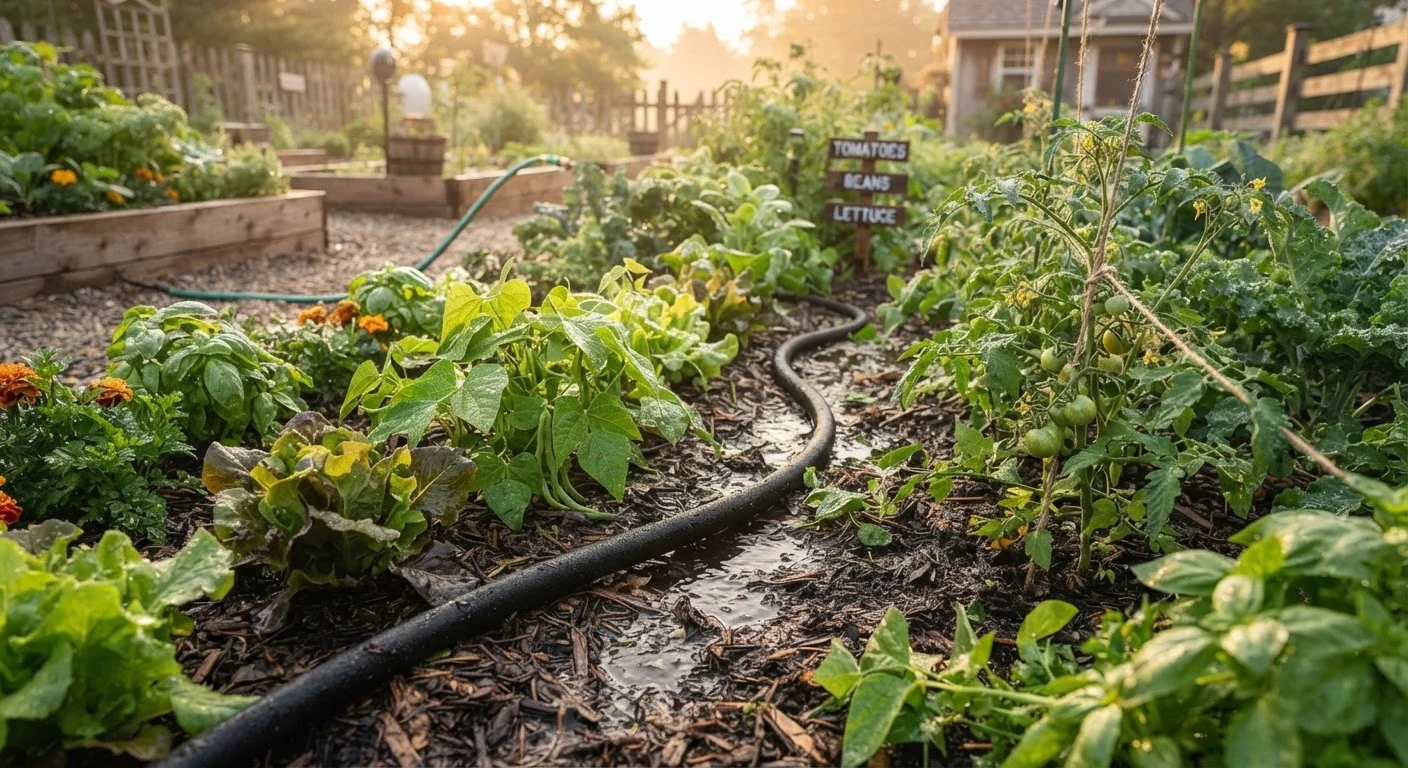
Once your seedlings are thriving indoors, plan ahead for their watering needs after transplant. Our article on garden watering done right covers frequency, timing, and technique for keeping young transplants healthy in their new home.