Why Composting Is Worth the Effort
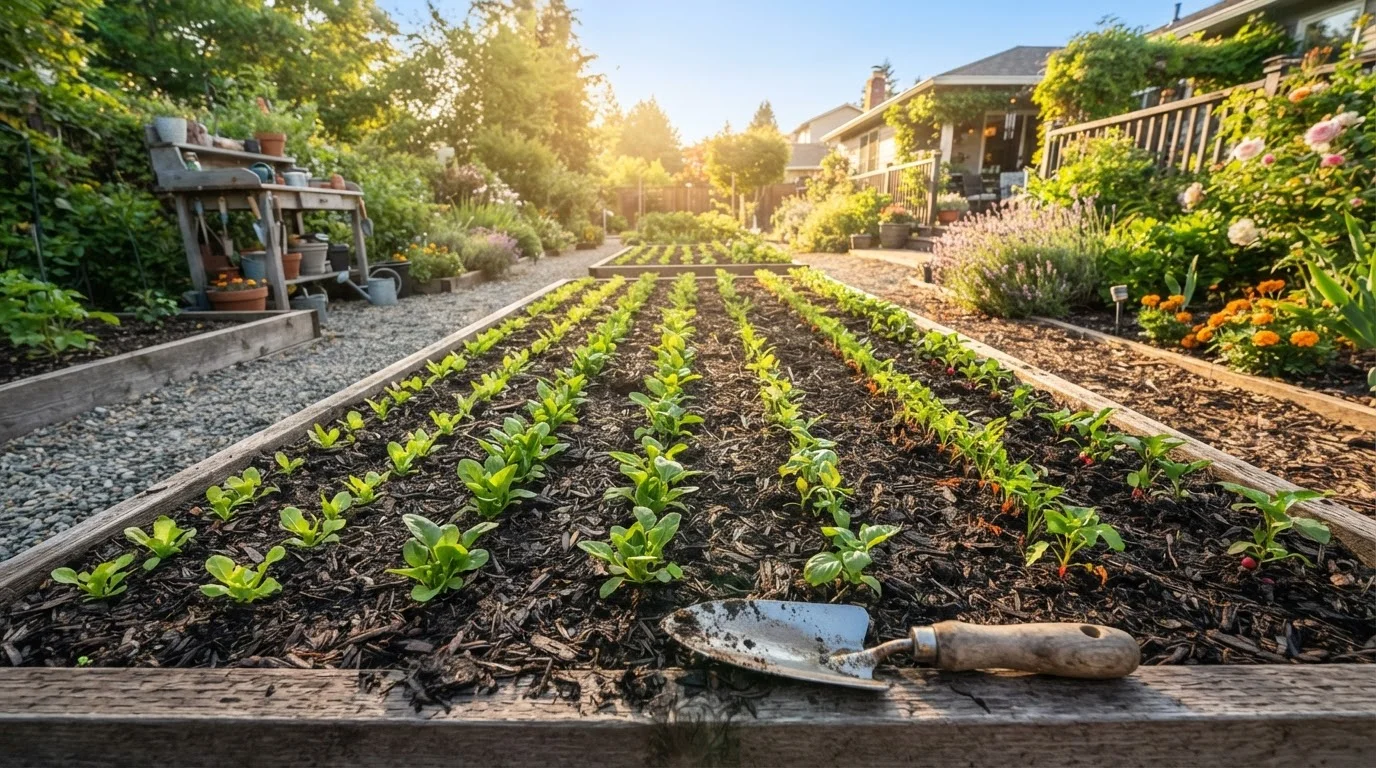
Composting converts organic waste that would otherwise go to a landfill into a genuinely useful soil amendment - and it costs almost nothing to do. The finished product, often called compost or humus, improves garden soil in ways that synthetic fertilizers alone cannot. It helps sandy soils hold moisture, breaks up compacted clay soils, and feeds the microbial communities that make nutrients available to plant roots. If you're building a vegetable patch, see our guide to starting a vegetable garden from zero - compost is one of the first investments you can make in long-term soil health.
Understanding what makes your soil tick is equally valuable. Our article on soil composition and structure explains how organic matter like compost fits into the broader picture of healthy garden ground. The short version: adding compost regularly is one of the most reliable habits you can build as a home gardener.
Speed Up Decomposition Naturally
Chop or shred materials before adding them - smaller pieces give microbes more surface area to work on. Aim for pieces no larger than two inches. Layering greens and browns rather than dumping them in bulk also helps the pile heat up faster and break down more evenly.
What to Add - and What to Keep Out
Almost any organic material can compost, but not all of it should go in your backyard pile. The table below summarizes what works and what to avoid.
| Add Freely | Avoid |
|---|---|
| Fruit and vegetable scraps | Meat, fish, and bones |
| Coffee grounds and paper filters | Dairy and greasy foods |
| Eggshells | Pet or human waste |
| Dry leaves and grass clippings | Diseased or pest-infested plants |
| Cardboard and newspaper (uncoated) | Chemically treated yard waste |
| Tea bags (check for plastic) | Invasive weeds with seed heads |
Keep These Out of Your Compost
Never add meat, fish, bones, dairy products, or greasy foods - they attract rodents and produce foul odors. Diseased plants, pet waste, and anything treated with pesticides should also stay out. These materials can introduce pathogens or persistent chemicals into finished compost you plan to add to edible gardens.
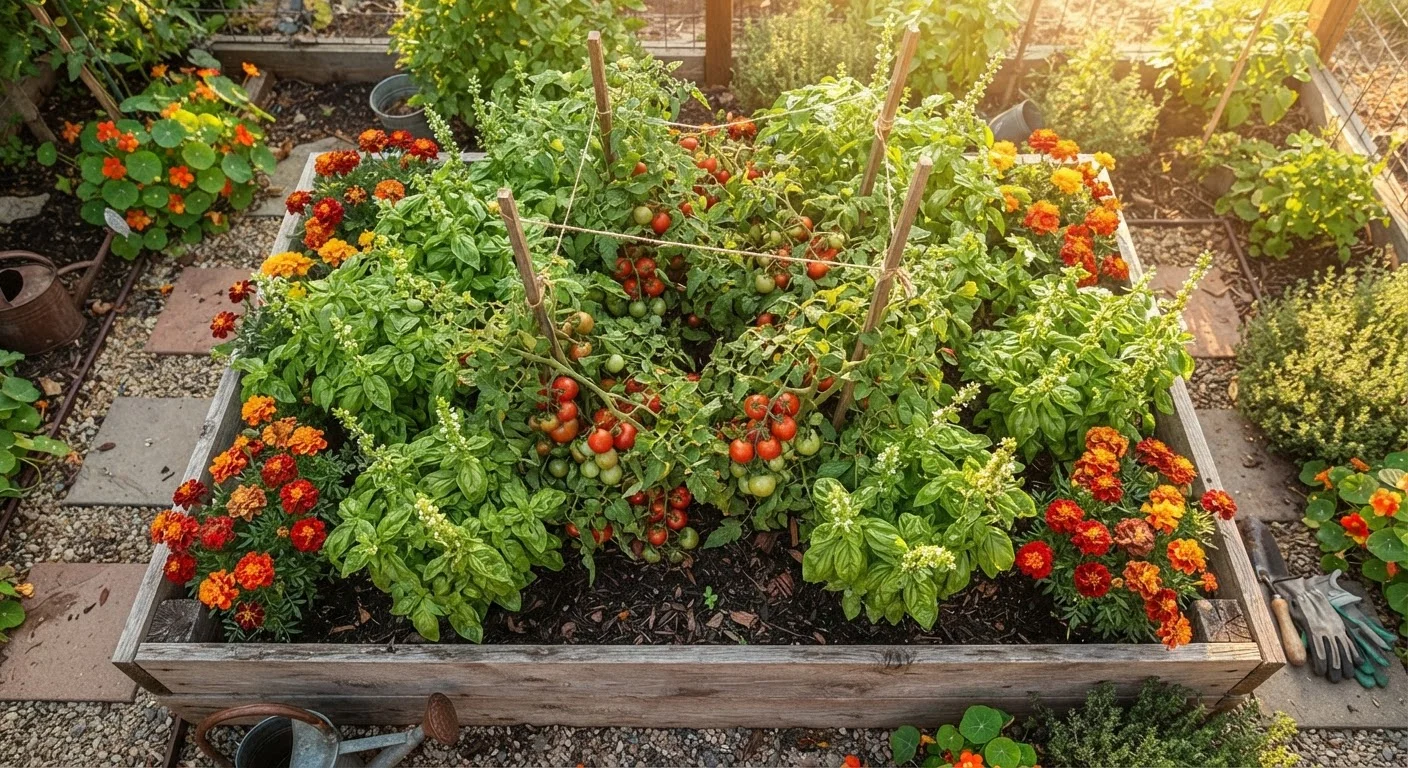
A well-balanced pile will serve your garden beds, and the nutrients it adds work in harmony with strategies like companion planting to build a healthier growing environment overall.
Setting Up and Following the Steps
Before you begin, gather your tools and materials. The list below covers what you'll need.
Compost bin or designated pile space
Contains materials neatly, retains moisture and heat, and discourages pests.
Garden fork or compost turning tool
Used to aerate the pile by turning materials every one to two weeks.
Kitchen scrap container with lid
Collects vegetable peels, coffee grounds, and other food scraps before adding to the outdoor pile.
Garden hose or watering can
Used to moisten dry layers if the pile lacks adequate moisture.
Compost thermometer
Measures internal pile temperature to confirm active decomposition is occurring.
Also confirm you meet the basic prerequisites for this project.
What you will need
Now follow the step-by-step process to get your compost system started.
Choose a location and container
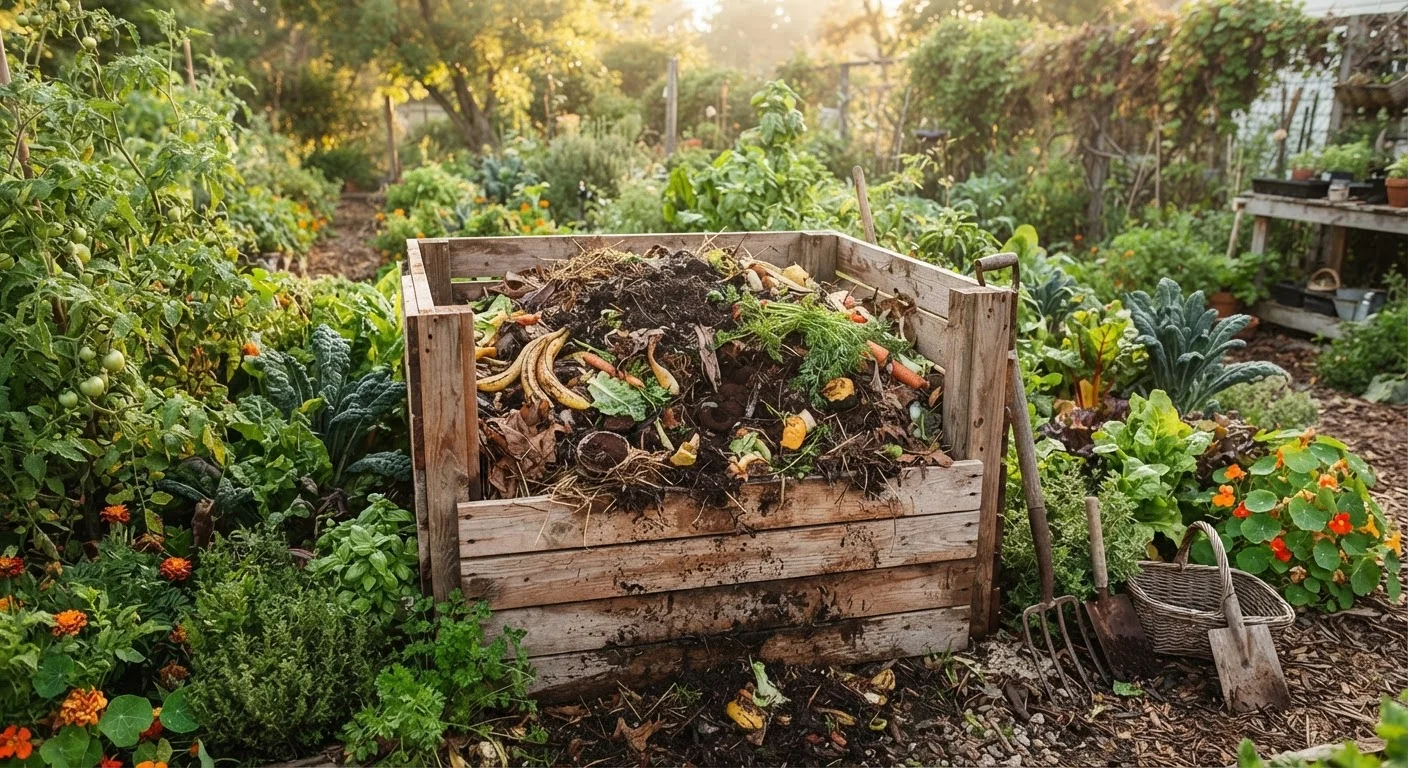
Pick a spot that gets partial shade - too much sun dries the pile out; too much shade slows it down. Aim for level ground with reasonable drainage. A distance of at least a few feet from the house or a wooden fence is wise. You can compost directly in a simple open pile, build a three-sided enclosure from pallets or wire mesh, or use a purchased bin. Any setup works as long as it holds material, allows airflow, and keeps pests from digging in.
Gather your 'greens' and 'browns'
Compost depends on two categories of ingredients. Greens are nitrogen-rich: vegetable and fruit scraps, coffee grounds and paper filters, tea bags, fresh grass clippings, and plant trimmings. Browns are carbon-rich: dry leaves, cardboard torn into small pieces, newspaper, paper bags, straw, and wood chips. You need roughly three parts browns to every one part greens by volume. Collect browns in a bag near the bin so you always have them on hand when you add kitchen scraps.
Start layering your pile
Begin with a 3-4 inch layer of coarse browns like wood chips or straw directly on the ground - this improves airflow at the base. Add a thinner layer of greens on top, then cover with more browns. Continue alternating layers. Each time you bring out kitchen scraps, bury them in the center of the pile and cover with a layer of browns. This reduces odor and deters flies and rodents.
Maintain moisture and airflow
Your pile should feel roughly as damp as a wrung-out sponge - moist throughout but not dripping. In dry weather, mist the pile lightly with a hose. In very wet climates or during heavy rain, a loose cover (a tarp or the bin lid) can prevent waterlogging. Turn the pile every one to two weeks using a garden fork, working outer material toward the center. Turning is what introduces the oxygen microbes need to thrive and generate heat.
Monitor and troubleshoot
An active pile will heat up noticeably in its center - sometimes reaching 130-160°F. That heat is a sign decomposition is working. If the pile smells like ammonia, it has too many greens; add more browns and turn it. If nothing seems to be happening, the pile may be too dry, too cold, or lacking nitrogen - add fresh greens and moisture and turn again. Patience is key: depending on conditions, finished compost can take two to six months.
Harvest and use your finished compost
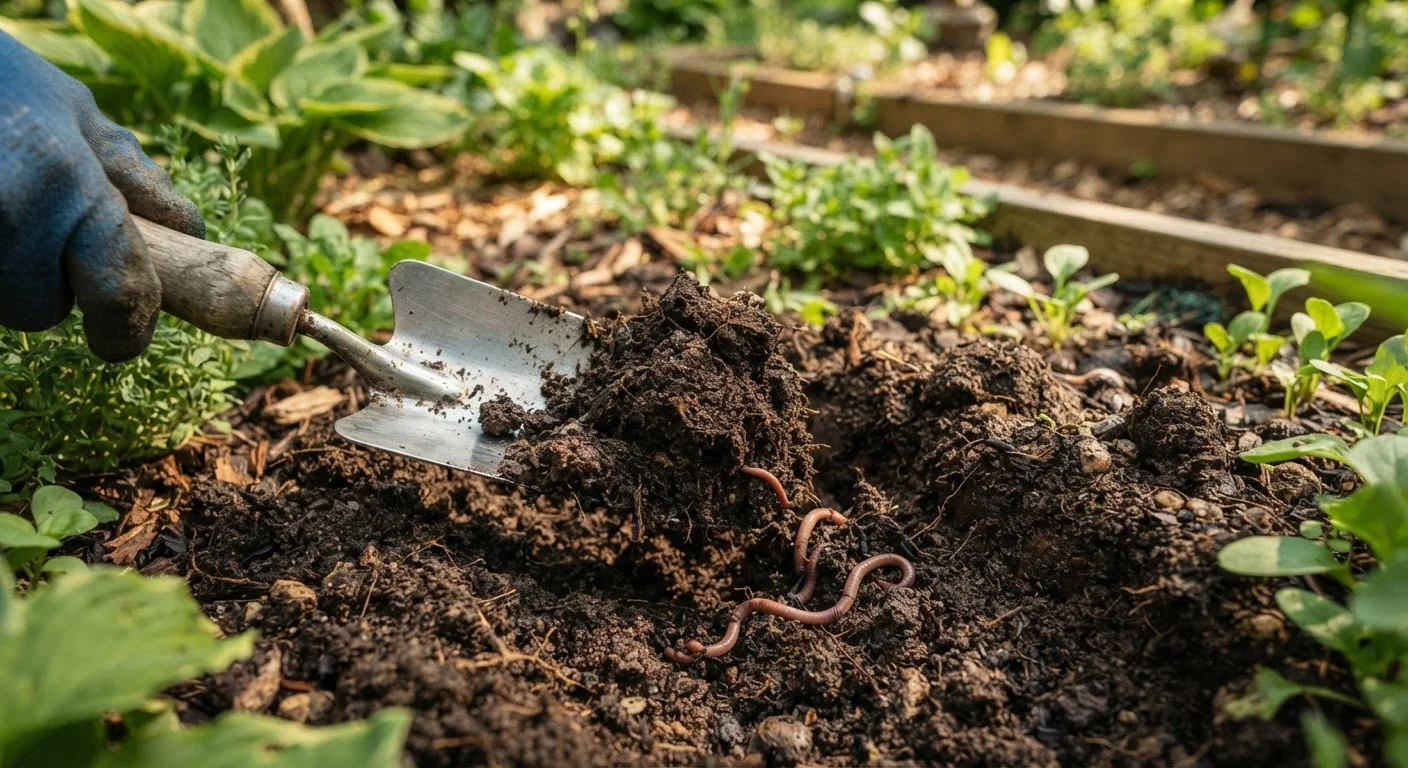
Finished compost - sometimes called humus - looks dark brown, smells earthy like forest soil, and has no recognizable food or plant pieces remaining. Sift or fork out any large unfinished pieces and toss them back into the active pile. Apply finished compost 1-2 inches deep as a top dressing around established plants, mix it into planting holes, or blend it into garden beds before planting. It conditions soil texture and feeds soil biology without the risk of chemical burn.
Putting Compost to Work in Your Garden
Once you have a steady supply of finished compost, you'll find plenty of uses for it. Spread it as a mulch around vegetable beds to retain moisture and suppress weeds, or work it into soil before planting to give seedlings a strong start. Because compost feeds beneficial soil organisms rather than delivering a single shot of nutrients, it supports plant health in a more sustained way than many concentrated fertilizers.
Gardeners who take a holistic approach - pairing compost use with thoughtful plant choices - often find they need fewer interventions overall. Our piece on natural pest control in the garden explores how healthy soil and diverse plantings reduce pest pressure naturally. Building good soil through composting is one of the most effective first steps you can take toward that kind of garden ecosystem.